AFFILIATE LINKS AHOY!
What follows is an accounting of most of the gear that i use. If you’d like to buy anything from this list, click any of the images to shop at Amazon. If you make a purchase, your price remains the same, and i’ll receive a small commission! Thanks so much in advance.
It would please you to know – particulalry if you’re of my patrons – that i re-invest the money i collect on Patreon.com into gear upgrades for Nights Around a Table. In the waning months of 2020, i made a number of purchases to improve the quality of my board game content, and to increase reliability so i don’t end up with nearly as many botched and unusable projects!
“New” Computer
Would you believe that all this time, i’ve been creating content for Nights Around a Table on a 5-year-old laptop? i knew eventually i would be far better served to move to a more robust desktop computer. My friend Michael Todd had a disused machine kicking around that he had put a (then) beefy graphics card into for VR game development, and so he sold it to me for 500 Canuck bucks.
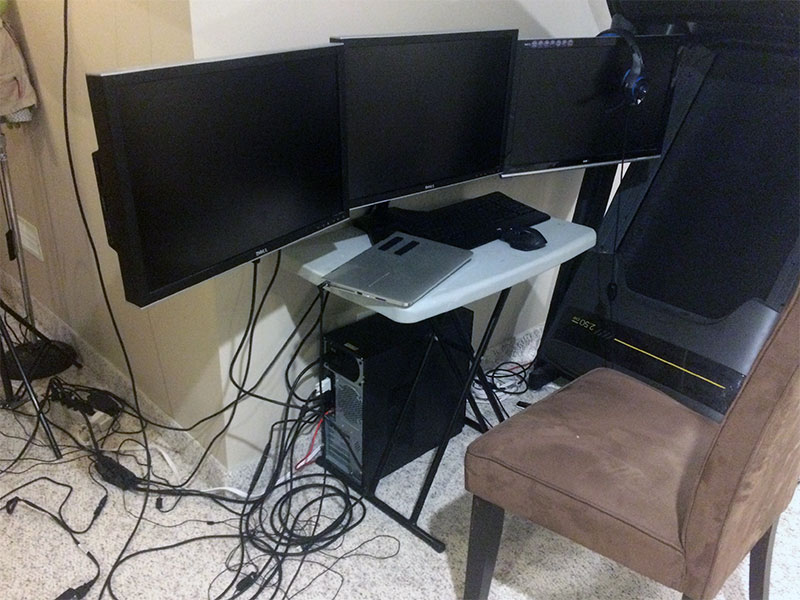
i hooked it up to an audacious 3-monitor rig that i purchased years ago when i gave up my game development studio, and dubbed the complete monstrosity “The Jerk.”
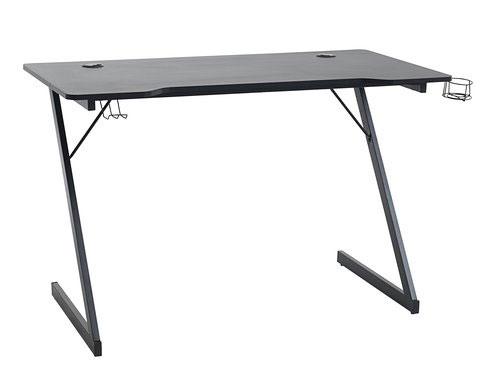
My wife Cheryl’s top priority (beyond cable management) was to find something better than a card table for The Jerk, so i wasn’t hunched over the thing for hours on a bad chair. She sourced this sweet desk for 1337 haxxors that says “Gamer” on the side. That’s how you know it’s cool. Time to slam a Monster energy drink and go poggers.
The Jerk has sped me up considerably. i don’t think it’s done all that much for render times, but just having all the extra screen real estate has been a godsend!
New Camera
i have also replaced my primary camera!
i was shooting with a Canon Rebel t2i DSLR:
It was great because it had optical zoom (turn the lens cuff to zoom in and out), and that made it easy to photograph different sections of board games that i set up on the table.
It had a lot of drawbacks though:
- The camera was old! The Rebel t2i came out in 2010.
- It was developing dead pixels. If you look closely, you can see 2 red/dead pixels on the videos i shot with the camera.
- It required a firmware hack called Magic Lantern so that i could use it in a live-to-tape setup (ie streaming the camera’s feed into OBS)
- It couldn’t record longer than 20 minutes without the Magic Lantern hack paired with a capture card
- The captured viewfinder feed was slightly smaller than 1080p, so i had to upscale the image. This resulted in my videos being slightly blurry/crappy-looking
My wife Cheryl was due for a phone upgrade, and because she loves her current phone and didn’t want to switch, she decided to donate her new phone to me. So now, my primary camera is an iPhone 11.
Switching to radically different gear – in this case from a DSLR to a purely digital camera – takes some concessions. i quickly found out that i needed to change the ways i was doing certain things just to maintain the quality of my content, let alone improve it.
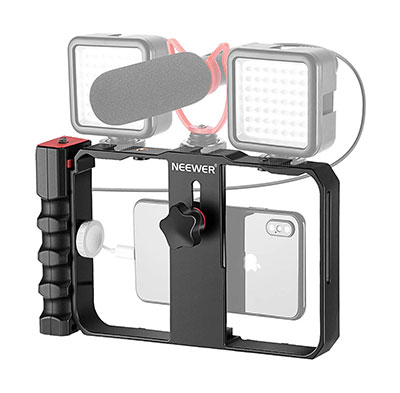
For one thing, i could no longer affix my phone to my tripod. i needed some sort of rig with a standard camera thread. i found this one:
It’s pretty good – especially since it allows me to orient the phone in both landscape (for YouTube) and portrait (for TikTok) formats. i do find, though, that since the spring-loaded gripper is a bit inexact, i have to make sure the phone is level in the rig, because it tends to naturally cock at a weird angle if i don’t pay close attention to it.
Next, i needed a new remote shutter button so that i could keep shooting stop motion animated sequences. i went with this one:
My DSLR remote shutter worked beautifully for taking stills, but was unreliable when shooting video. This Bluetooth remote shutter works a treat if i’m using the native iOS camera app, but it’s a real pain to use with certain third party apps (see below).
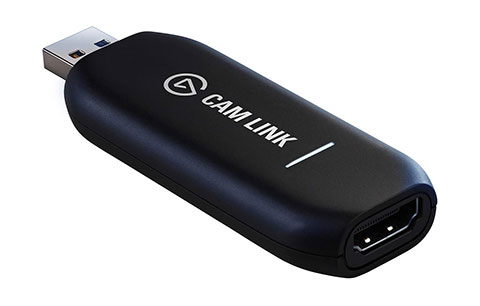
Because an iPhone won’t feed into a PC, i still needed to use my Elgato CamLink 4K capture card to get the iPhone’s image into my PC:
And i need this lightning-to-HDMI adapter to go out to the CamLink card:
The HDMI adapter is great because it has another lightning port on it, so i can keep the phone plugged in and powered while i work. One drawback, though, is that there’s not a lot of room in the rig to fit the adapter, and the extra weight on one side of the phone tugs it down a little, so i have to be vigilant to make sure the phone is seated level in the rig.
Porting the phone’s feed out through HDMI exposed a new problem: i couldn’t get a clean, “chromeless” feed (without any heads-up interface elements) using the standard iOS Camera app – you could still see, like, the “record” button on the screen. So i needed to buy a piece of software that could send a naked feed image to my computer.
Video Software
i went with Filmic Pro:
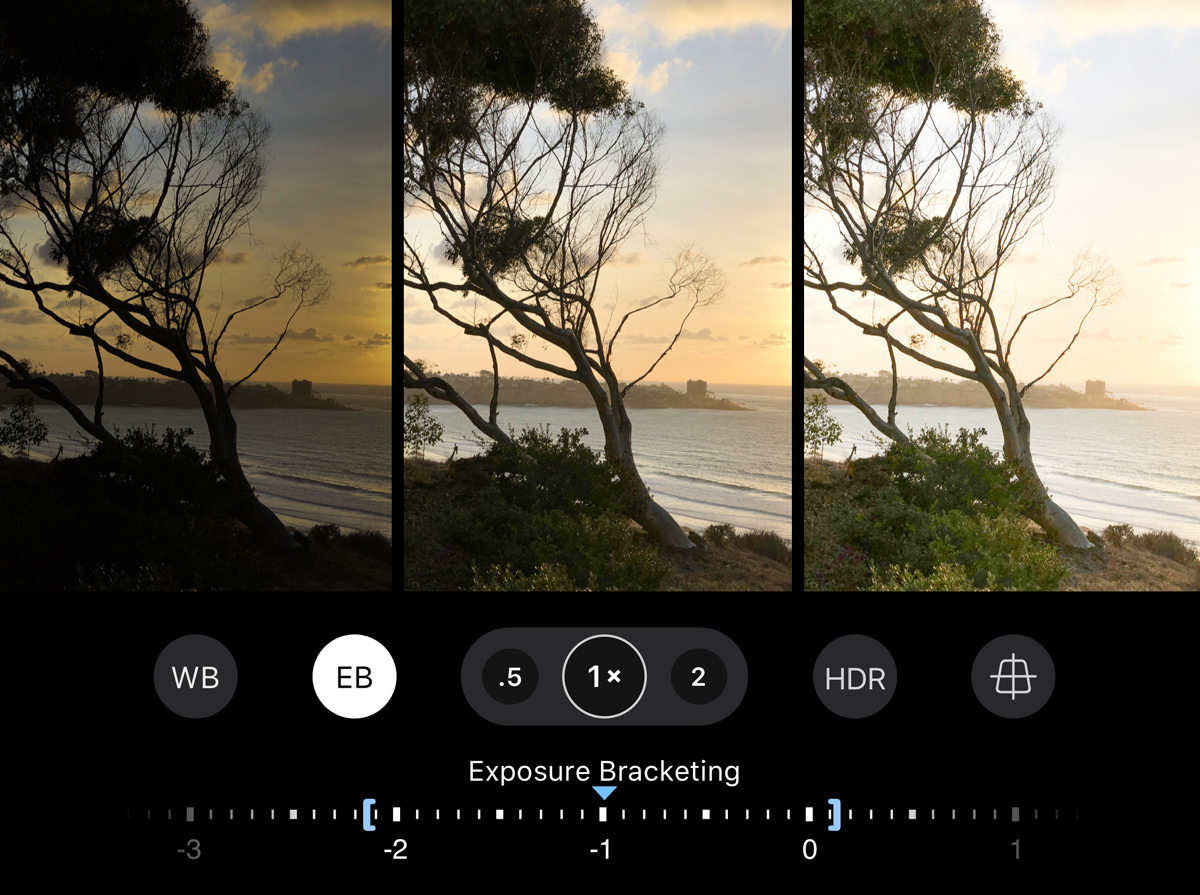
The app allows me to control exposure, zoom, and white balance, along with a slew of other features i’ll probably never touch.
One of the issues with Filmic Pro, however, is that since it provides a clean feed, i can’t hook it up to a monitor to show me when i’m recording and when i’m not – because i can’t see any interface elements in the feed! Luckily, they have this add-on called Filmic Remote that lets you use an old iPhone (like my iPhone 5s that was replaced by the 11) to control the app on the main camera:
However, i learned after one failed session that Filmic Remote is BUGGED, and in using it, i lost a recording session! So i haven’t quite figured out a solution here, except to hit the “record” button myself and clamber back through my hot mess of wires and lights with a lavalier microphone stuck to my chest to take my place in the host seat. Thank God for editing.
Shooting Stills
i wanted a more robust piece of software to shoot all the still footage that i put into my videos. i shoot a lot of stop-motion, which is just a bunch of stills strung together. i found this piece of software called ProCamera:
One of the earliest problems i had using the iPhone 11 to replace my DSLR is that the… my knowledge of camera terminology is weak, but i’m gonna say the field of view on the iPhone 11 is very different from the Rebel 2ti. So i would position the camera on the tripod like i would with the DSLR, and i’d get this extreme 1-point perspective angle on things that didn’t look very good.
But the iPhone 11 has a much-touted pair of lenses, right? So maybe the solution is to use the wide angle lens?
Well, it might shock you to learn (because it shocked – and disappointed – me) that the controls for “tap-to-focus” and “lock focus” using the iPhone 11’s 0.5 wide angle lens are not “exposed” to app developers. So if you’re using a non-native app to run your camera, you can’t use the wide angle lens to shoot stop motion if you need your focus locked. Garbage!
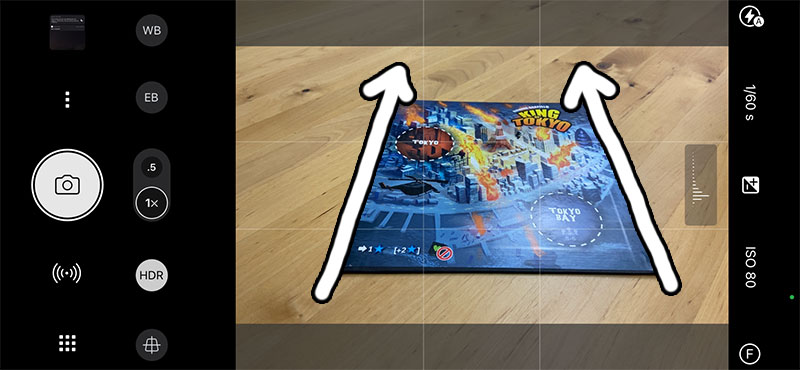
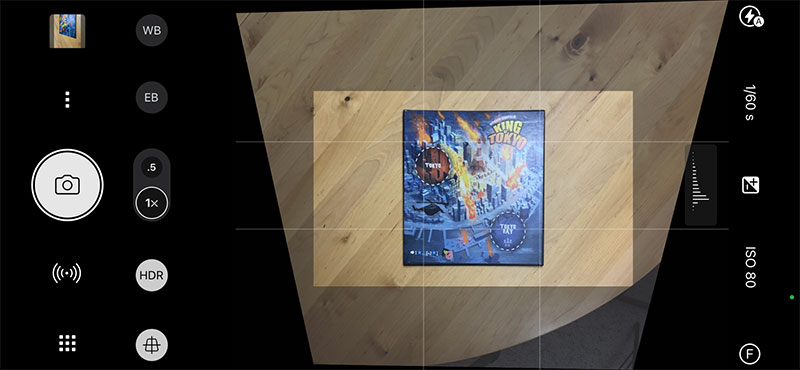
But then i discovered this killer feature of ProCamera: Auto Perspective Correct. It reads the tiltometer values of your camera and “corrects” the image to turn your converging perspecitve lines into parallel lines:
Super cool! What’s not super-cool is that because this LensTRUE tech is patented and licensed from another tech company called Jobo, it’s an add-on purchase above and beyond the cost of ProCamera… AND it’s a subscription purchase, which just kind of rankles me. i’m okay with subscribing to tech that is constantly being upgraded and improved, but this LensTRUE thing just works now as-is. i’d much rather pay a one-off fee than to have to “rent” the tech year over year.
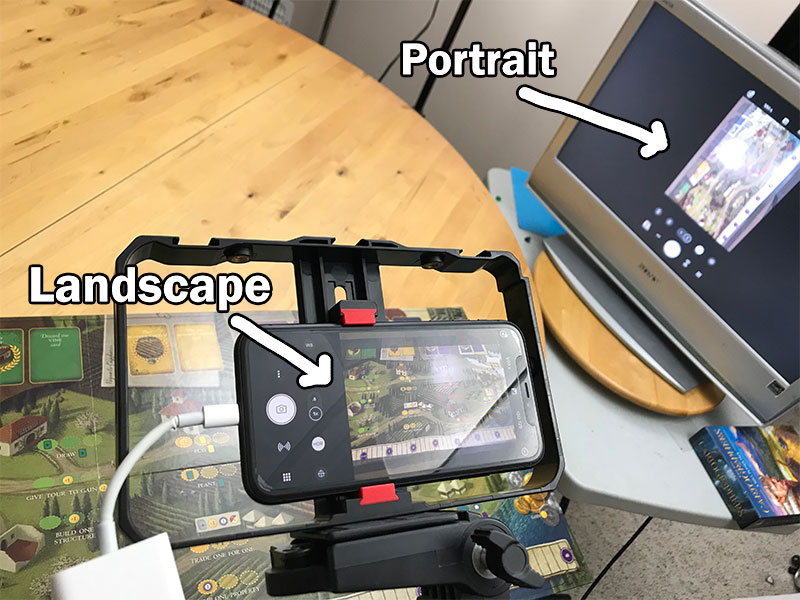
Another big drawback of ProCamera (and i’ve been in touch with the developer about it) is that when you physically turn your phone in landscape orientation, all of the app’s elements follow suit and give you a landscape configuration… but the developer failed to make ProCamera tell iOS that it’s in landscape mode. This means that if you run the phone out to an external monitor to see the feed, it will only ever display in portrait mode!
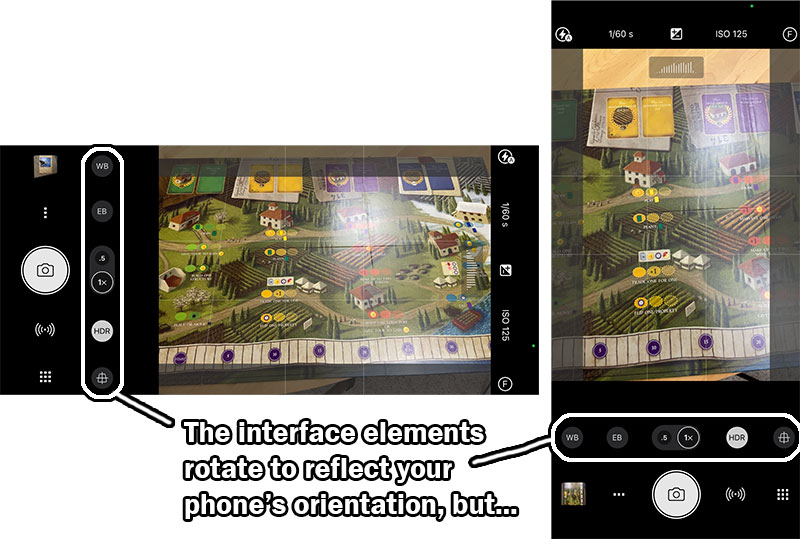
This means that for my last few videos, i’ve been “flying blind” – unable to see what my camera’s seeing unless i stand up and look at the phone’s screen – which, in some precarious stop-motion situation, risks bumping the camera and blowing the shot. So far, it’s worked out okay. But i don’t like it. i’m eagerly awaiting the day when the ProCamera developers fix this bug.
The last big ProCamera bug that impacts my new workflow is that the remote camera shutter button i bought does not work reliably with the app. It works perfectly with the native iOS camera app, but ProCamera has some sort of problem that causes it to recognize the remote shutter’s input maybe half the time. When it works, it works. But getting it to work can be really frustrating, necessitating closing and opening the app, resyncing the Bluetooth connecttion, and doing desperate ceremonial dances to appease the technology gods.
Boom Goes the Dynamite
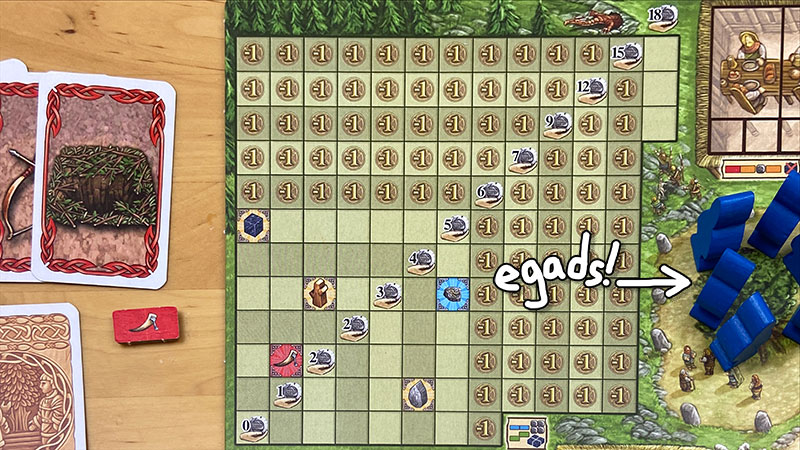
Every solution i come up with seems to create a new problem. The trouble with the LensTRUE Auto Perspective Correct feature is that anything that pops up from the table at a right angle towards the camera lens, like – oh, say, a wooden meeple – gets crazy-distorted:
i tried to work around this, but in some cases, the only solution would be to position the camera directly over the game and shoot straight down. But if you followed my travails with the inexplicably High Cost of Shooting Down, you’ll know it’s no small feat.
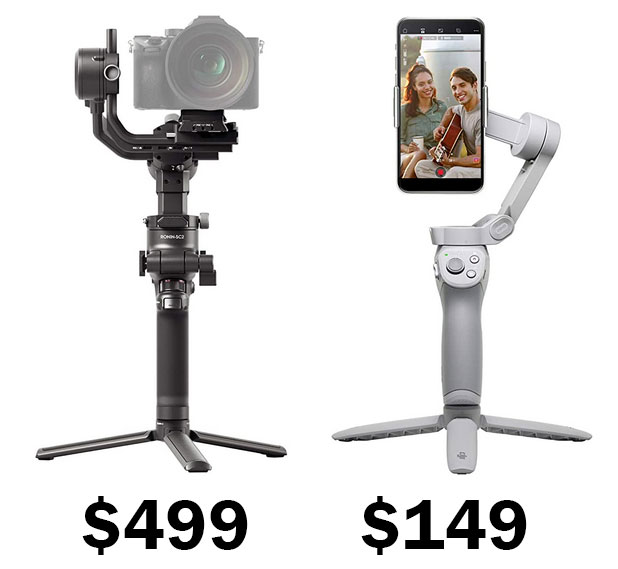
One of the reasons why it’s so expensive to shoot straight down with a DSLR is that the camera is relatively heavy, so any rig you buy or build has to be robust enough to bear that weight. Just compare the price of gimbals for heavy DSLRs vs light cell phones to see this in action:
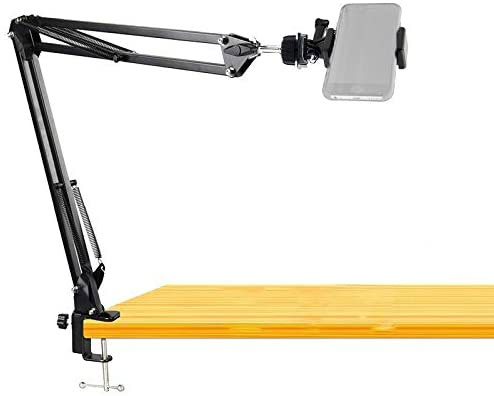
But since the iPhone 11 is light, it’s easier to come up with something that will support it, and that will give me the flexibility to position the phone directly over the table and my subject as need be. This is what i came up with:
This boom arm solution also solves the problem of the iPhone 11 lacking optical zoom. i need to get the phone physically closer to the subject to “zoom in,” and the arm lets me do that.
Mic Hunt
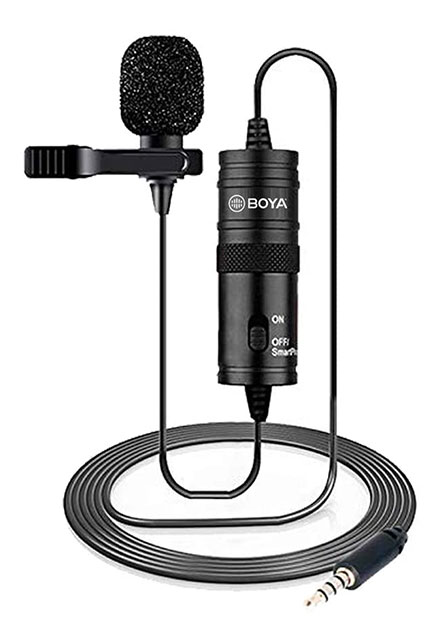
This is the lavalier mic that i’ve been using to record myself in all my videos:
i run it out to this Zoom 4x portable recorder:
It’s worked really well, but one drawback is that since it’s only meant to mic one person, i can’t reliably hear more than one host. So in videos where i have a Special Guest Star, like in this Caverna: The Forgotten Folk unboxing, you’ll notice that my guest can’t be heard as well as i can:
Luckily, Michael Todd has a big, booming voice. But the inadequate micing has been more of a problem in videos i’ve done with my quiter wife Cheryl or my daughters Cassandra and Isabel.
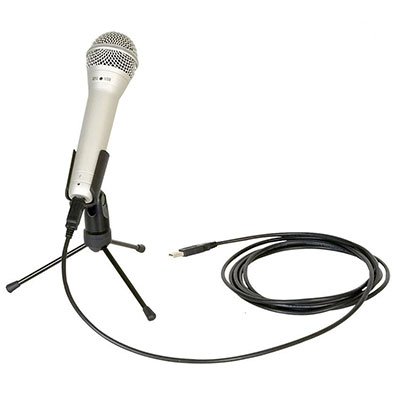
i was able to dig out two very old, but still functional, microphones from my Big Messy Boxes of Abandoned Technology – the Samson q1u, and the Samson CO1u:
So theoretically, and once everyone gets their COVID-19 vaccination shots, i’ll be able to mic more than one person in a video.
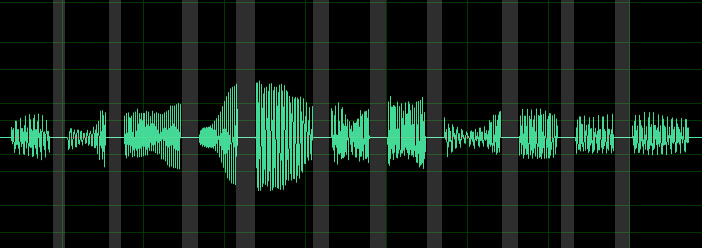
But the real reason i mention this is because i lost four entire projects – unboxing videos for Underwater Cities, Underwater Cities: New Discoveries, Crown of Emara, and Crystal Palace – because of some dumb Windows 10 bug with OBS, where the audio gets recorded all choppy – like every other milisecond is blank:
If there’s one thing i can’t abide, it’s losing work. And it’s heartbreaking to lose an unboxing video, because i can’t exactly un-punch the game’s cardboard and put it back in shrink – nor would it feel entirely honest to try to gin up the same level of excitement, surprise, and enthusiasm i had the first time i opened the box with virgin eyes!
So the solution i came up with to combat this is to record using my lav mic straight into my Zoom h4n Pro to the SD card, instead of using the Zoom as a passthru device going into my computer and gluing the audio to the video through OBS. The whole point of my “live-to-tape” setup was so that i could forego editing my unboxing videos because it took so much time. But i quickly realized that i wanted to show cover images of the boards games i spontaneously mention in those videos, so they’re going to require some amount of editing anyway. It’s not a big deal to just paste a separate audio track into the file.
But to make absoutely sure that i wouldn’t lose audio ever again and ruin a project, i decided i would have a backup audio system in place: i would send one of these mics into OBS at the same time that i was recording my audio to the Zoom. That way, the OBS recording would have the slightly crummy backup mic audio glued into it, and i could paste the better lavalier mic audio into the file later.
But i needed to somehow mount the mic so that it would be as close to my mouth as possible, while remaining outside the shot. i needed… a second boom!
Putting It All Together
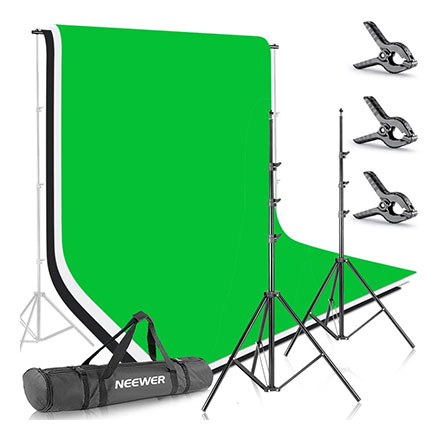
So that’s what my setup looks like now! That’s all the new gear and software, along with the existing gear that still serves me well, including my backdrop:
my studio lights:
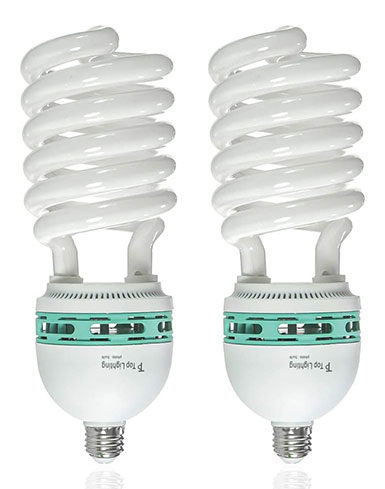
with their upgraded lightbulbs:
(these lights and bulbs will be the next pieces of equipment i upgrade, by the bye)
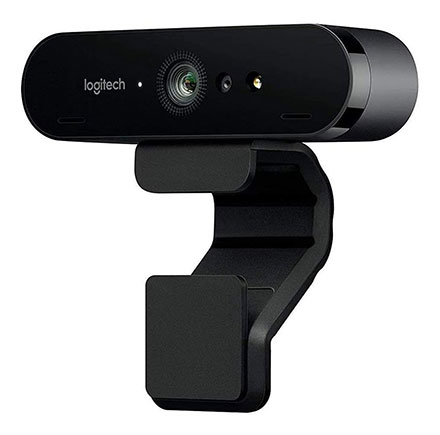
The LogiTech Brio 4K camera that i use for overhead shots:
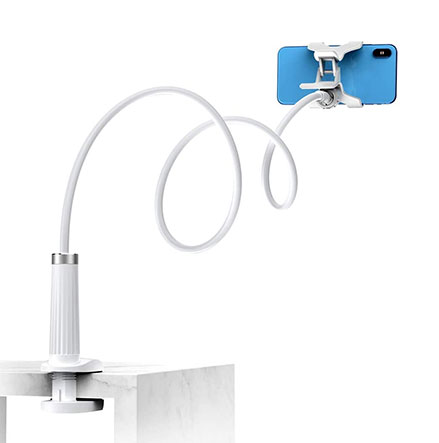
A gooseneck clamp like this one to mount the overhead camera:
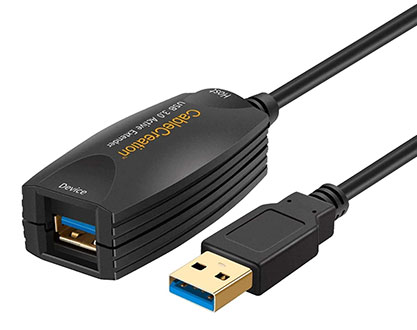
This power-boosted USB extension cable to help the overhead camera reach my PC:
The LogiTech 920s web cam that i use for close-ups:
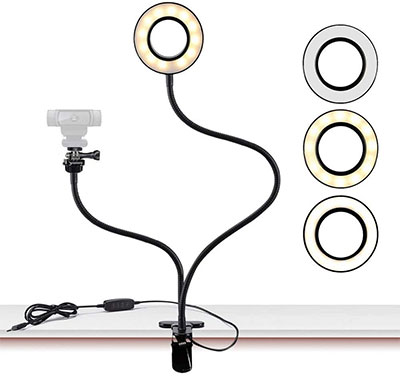
Another gooseneck/light combo to mount the close-up camera:
(note: i haven’t found the ring light in this clamp to be all that useful – it puts a harsh glare on shiny cards – but it depends on the camera exposure settings i use in OBS)
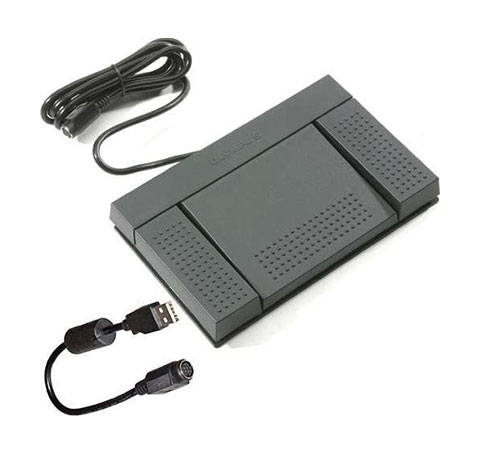
This Olympus foot pedal that i use to switch between cameras while keeping my hands on the game:
This external number pad that i use to start and stop my OBS recordings, and to do anything else if i need more buttons than the food pedal supplies:
This excellent LogiTech K900 wireless keyboard and mouse combo:
These indispensible clamps that i use to tighten my backdrop and keep cables out of the way:
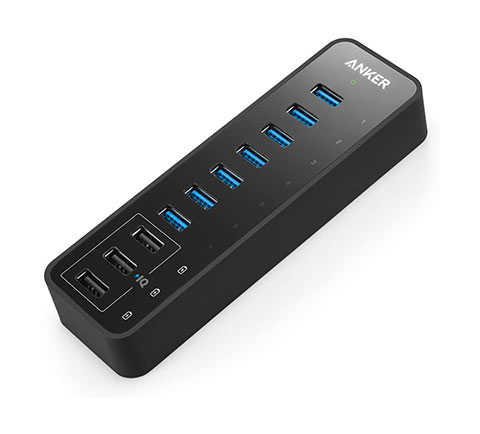
and this powered USB hub to accept all of these devices as inputs:
(note: the overhead and host cameras go straight into their own usb ports on my PC. Lower priority feeds, like all the input devices and the close-up camera, go into the hub, because they’re less demanding than the cameras)
That’s All, Folks!
Even with these changes, my content still doesn’t look as crisp and slick as i want it to. But it’s getting better. And perfect is the enemy of good, so i’m happy to be merely “good” for the next little while, until i reinvest my patrons’ contributions into more gear upgrades. Future purchases i’m eyeing include better lights, and possibly a gimbal to get smoother b-roll flyovers of the board games. But the Warp Stabilizer effect in Premiere seems to be doing an okay job for now.
People Who Know Way More Than Me: Are there any pieces of equipment that you think i should be using that would make my content look and sound even better?




![appleHDMIAdapter [Apple MFi Certified] Lightning to HDMI, 1080P Lightning to Digital AV Audio Adapter, 4K HDMI Sync Screen Converter with Charging Port for iPhone, iPad, iPod on HD TV/Monitor/Projector [Must Be Power]](https://nightsaroundatable.com/wp-content/uploads/2021/01/appleHDMIAdapter.jpg)












…and we thought you were shooting this show with nothing but a iPhone and a laptop! Wow, your dedication to providing us with a professional experience is amazing. Thanks for all of your hard work getting this all done right. The learning curve in any new piece of software or hardware is no small item either! THanks!!
i think that when i finally release a video showing people my process of producing a How to Play video, viewers will be shocked. And people will wonder why on earth i spend that much time on them.