i’m rarely a pioneer of anything. At best, i’m a slow follower. This was the case with my escape game business and my bid to make board game videos on YouTube for Nights Around a Table. But every so often, i suffer momentary flashes of brilliance. And this is one of them. i’m going to boldly claim that i am the guy who popularized the use of foot pedals to control multi-camera setups with streaming software like OBS Studio.
Rahdo Recommends
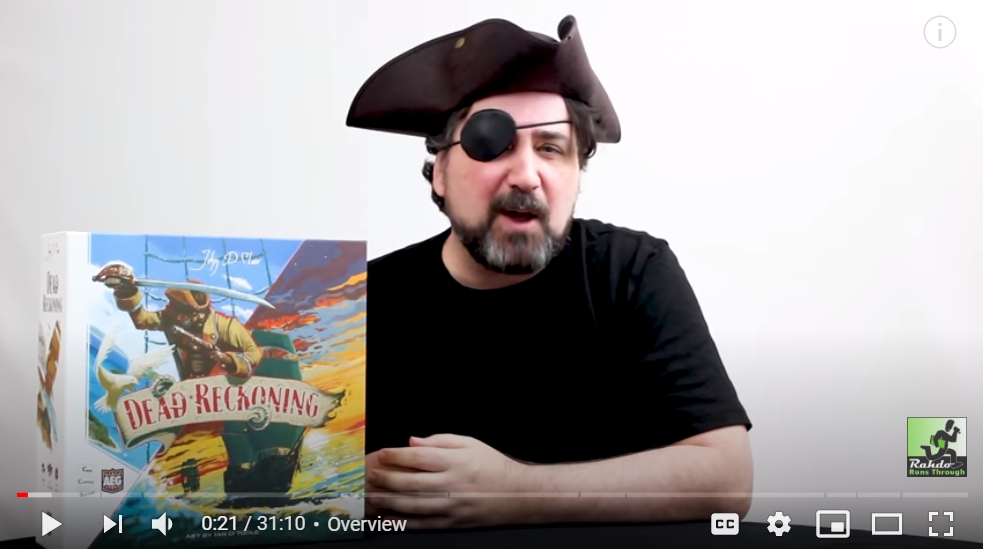
When i first started talking to Rahdo, a successful board game YouTuber, about making How to Play videos for his channel, he pitied me. He saw all the slavish effort i put into my stop motion animated vids, and shared his setup and gear list with me, perhaps hoping that i would see the light and spend less effort making my videos. But when the first few of my vids for games like Monumental and Dead Reckoning launched on his channel, all hope was lost.
Does THIS look like a guy who’s not bringing his A-Game?
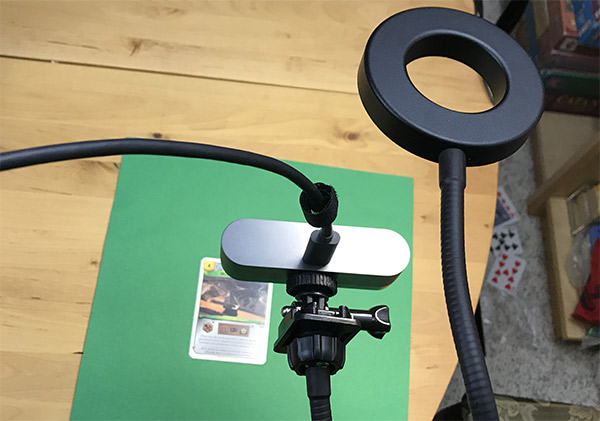
Certain types of gear are tough to get during the pandemic, and it’s taken me months to build up to what Rahdo has prescribed. Rahdo’s recommendations included a powered USB hub (he’s had trouble with cheaper hubs failing on him), a Brio 4K overhead camera so he can zoom in on different parts of the board at 1080p without quality loss, and his most brilliant innovation: a separate camera held by a combo gooseneck clamp/ring light, aimed down at a green piece of construction paper, overlaid and chroma-keyed over his other footage, so he can slip cards and smaller components under it to show a blown-up view. This is an alternative to the approach that others take, which is to hold the component closer to their main overhead camera and let the auto-focus go crazy trying to capture it, and by the time they’re finished talking about it, the auto-focus finally locks on, but they’ve already put the component back down on the table. Sheesh.
Note: i don’t know if i can fully credit Rahdo with coming up with the close-up camera solution, but he’s the guy who told me about it, so he gets the recognition here!
Switch Like You’re Rich
When you have a multi-camera setup, you’re doing one of two things: you’re either recording multiple cameras separately and cutting the footage together in editing software later, which takes hours (believe me), or you’re using a piece of software like OBS Studio in a “live-to-tape” or streaming setup. By this method, only one feed is recorded, and you have to switch between cameras on the fly to send pictures to that single feed. In a teevee studio setup, there’s a whole control room full of people who are switching cameras for you and getting the best shots. But most of us don’t have that luxury. Most of us are one-man bands who need to switch cameras ourselves while we perform.
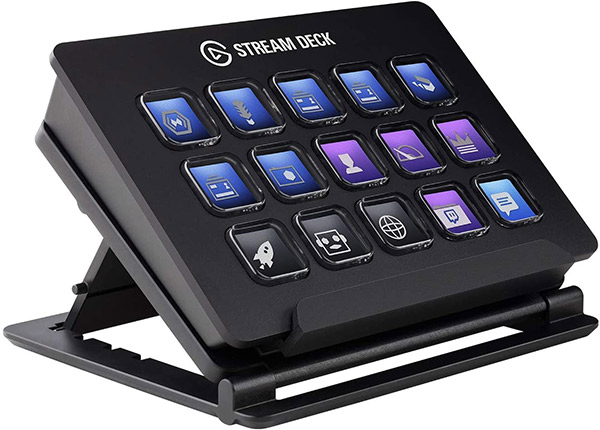
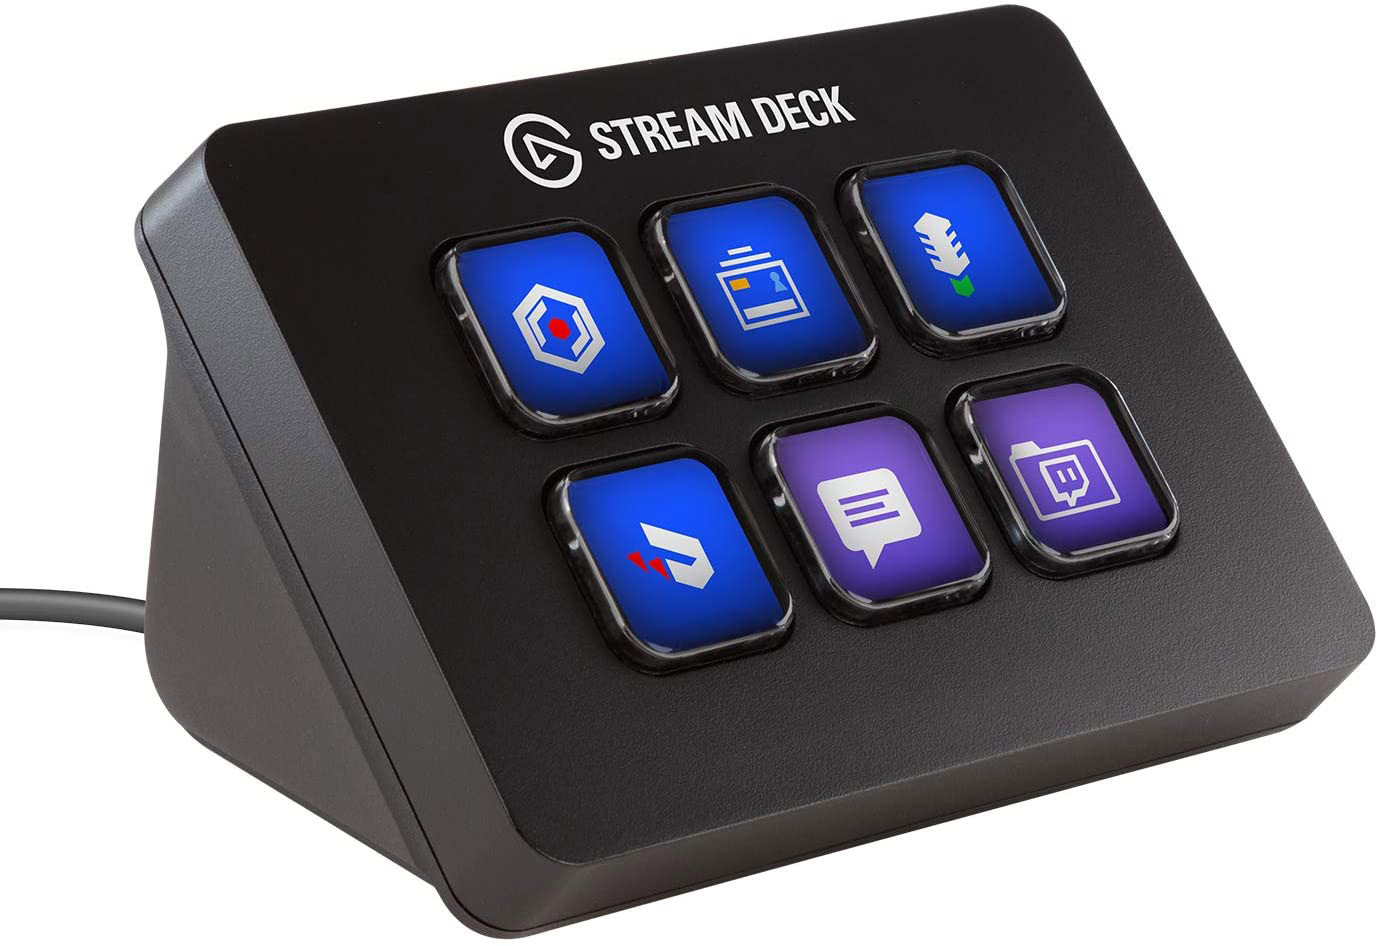
So, to that end, you need a way to switch. A company called Elgato makes these absolutely slick-looking Stream Deck boards, where you can map these candy-looking buttons to your different feeds and switch to them while you record:
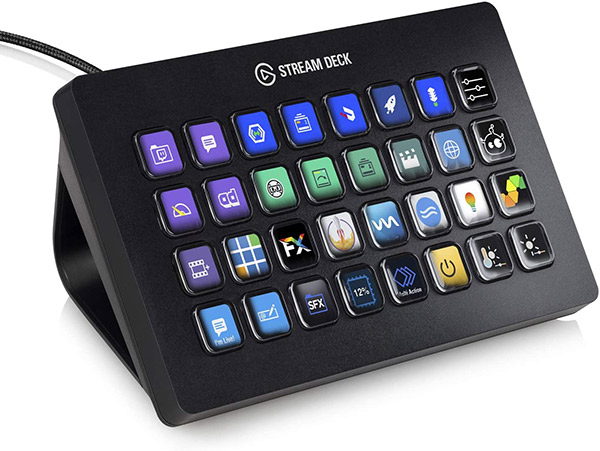
And if you’re Richie Rich, you can buy the even more preposterous Stream Deck XL, which upgrades you from 15 to 32 different buttons:
And if that seems like overkill, or you (more likely) can’t afford it, here’s the Stream Deck Mini with 6 measly buttons, for absolutely disgraceful and slovenly hobos:
In the Key of Cheap
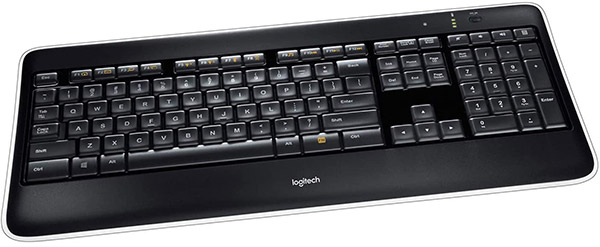
But all of those solutions are for suckers and chumps, in my opinion. The Stream Deck is just a gussied-up keyboard. So you can use a regular old wireless keyboard to switch cameras. i use the Logitech k800:
Now you’ve got over 100 keys, and you’ve paid $60 instead of $200 for the 32 keys on a Steam Deck XL. But if that’s too bulky for you, here’s an even better option:
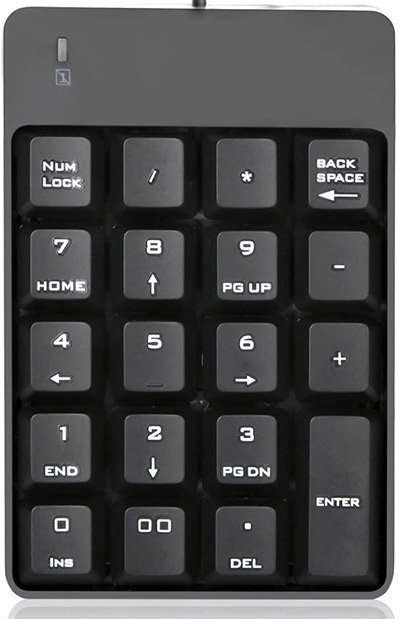
Eleven bucks for an external number pad, which gives you 20-odd buttons to map. Beautiful. This is what i used for my first few live-to-tape videos, until i had that black-and-white infomercial moment and said “there’s got to be a better way!”
Look, Ma – No Hands!
Using the external number pad is a great idea. It’s inexpensive, and it has more buttons than i’ll ever need. But it became impractical for something like a product unboxing video, where i needed to have both hands on the goods at all times. How could i switch camera views if i didn’t have my hands free to do so?
The solution, of course, was a foot pedal! After about an hour of research, i learned a few quick facts:
- most consumer-facing foot pedals are 3-button affairs
- the pedals are primarily used by transcriptionists who type captions for videos
- the left button rewinds, right button skips ahead, and the middle button pauses
- most transcription pedals are pre-programmed (!!) meaning the buttons are hard-coded to certain keys
- you can contact the manufacturer to ask them to hard-code your pedal buttons a certain way, but …come on
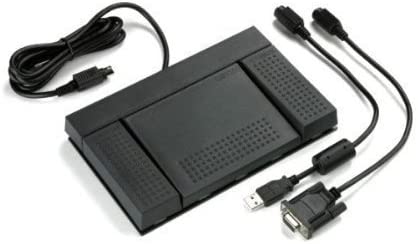
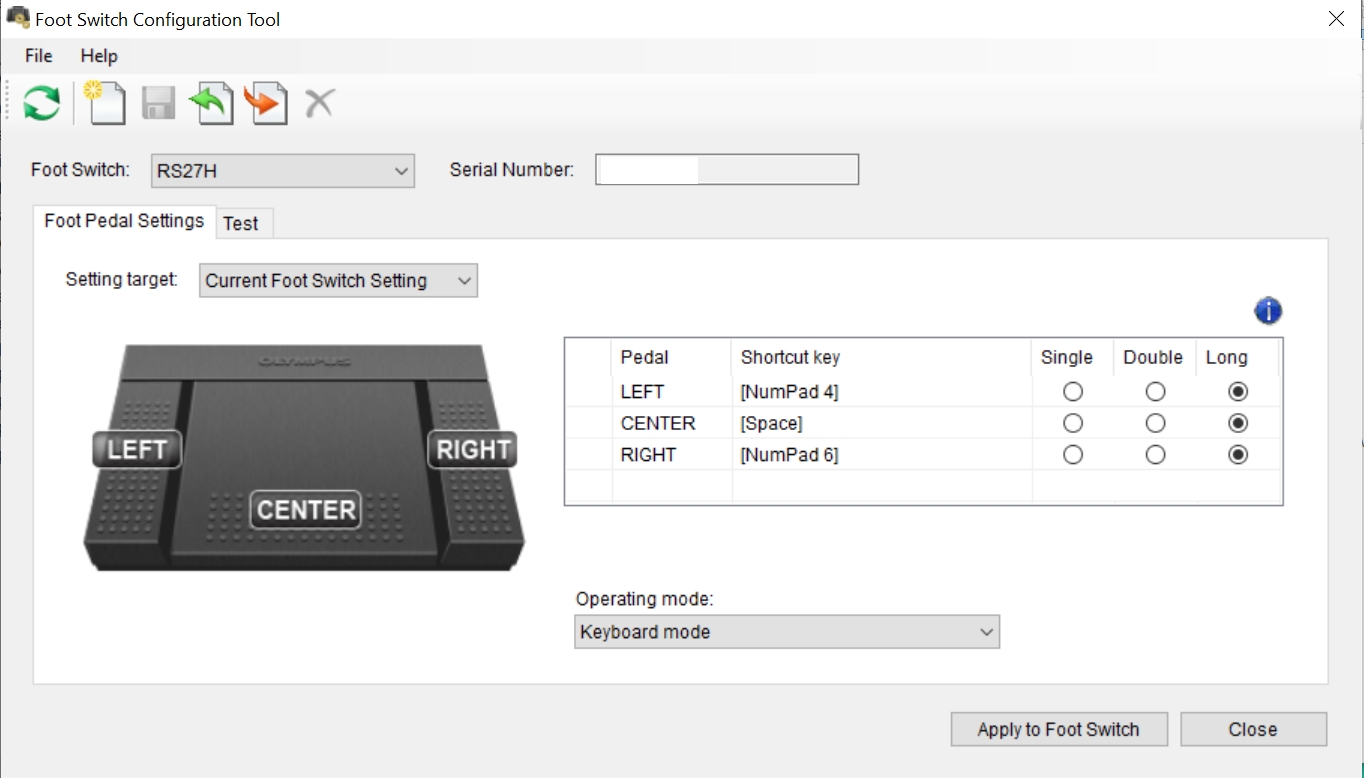
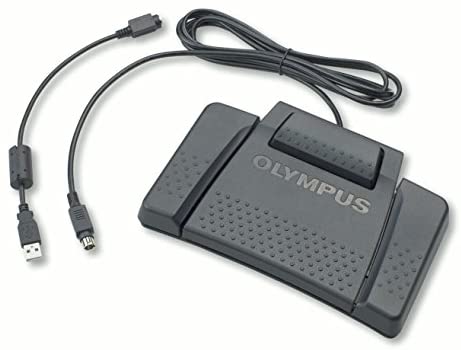
So because of the hard-coding issue, it’s very important that you don’t just run out and buy any old foot pedal. The one i bought is the Olympus RS-27H (pictured above), and which i can confirm is programmable once you download this free foot switch configuration tool for PC or Mac:
Here’s a shot of me remapping the left button to the Y key on my keyboard:

i was even able to turn my 3-button pedal into a 4-button pedal! i made 4 test scenes in OBS, and mapped the left foot pedal button to the CTRL key. i can switch to scenes 1 and 2 with the middle and right buttons, and scenes 2 and 4 by stepping on the left button and tapping the middle and right buttons with my other foot!
In Case You Are an Octopus
Okay – what if you want to go SUPER crazy and crank this up to a FIVE-button pedal? Yes, you CAN map the left button to CTRL and the right button to ALT. Then you map your scenes like so:
Scene 1 – 1 (middle button)
Scene2 – ALT (right button)
Scene 3 – CTRL + 1 (left + middle buttons)
Scene 4 – CTRL + ALT (left + right buttons)
Scene 5 – ALT + 1 (right + middle buttons)
You can do this, but the problem is that since scene 2 is mapped to ALT, the moment you step on that right button, OBS shows Scene 2. When it detects that you’re also stepping on the middle button, it switches to Scene 5. But it will look a bit glitchy, visually, because your viewers will sce scene 2 briefly. But it’s nice to know it can be done.
(and no, you can’t map a scene to CTRL+ALT and another to ALT+CTRL because CTRL has higher priority than ALT, so ALT+CTRL is interpreted by OBS as CTRL+ALT anyway)
If you need even MORE buttons for what you’re doing, check this out:
The Olympus RS-28H has four buttons and is compatible with the remapping software i showed you, which means you could theoretically get seven “perfect” buttons (and one extra mapping if you’re okay with it looking sloppy, like i mentioned above).
Of course, the limit at that point won’t be what your foot pedals can do, but what your feet can manage while your mind can remember!
When the Pedals Are a-Rockin’…
One other limitation is that these foot pedals are not silent. You can absolutely hear the squeak of the springs while you step on the buttons which, depending on your level of perfection, may or may not be a deal breaker. If you’re very fussy, and somewhat handy, you can of course build your own food pedals quite easily, in which case you could construct some monstrosity with as many pedals and switches as you like. Let me know what you come up with!
Ryan and Rahdo Do. Do You?
After no small amount of playful playground teasing, telling Rahdo that i have a piece of gear he doesn’t (with my thumb to my nose), Rahdo ran out and grabbed a foot pedal for his own setup. And if you’ve made it this far through the article, i suspect you will too!

