After figuring out whether or not Lost Ruins of Arnak was fun, i turned my attention to blinging it out. And wait til you see what i found…
Hi, it’s Ryan from Nights Around a Table, and i’m about to print an insert for Lost Ruins of Arnak that will blow your mind! Coming up on the next thrilling episode of Bits, Please! (Sick 80’s guitar riff) Bits, Please!
Lost Ruins of Arnak. It’s a good game. i did a Find the Fun review on it, and the Scales of Funstice helped me declare it fun, without a shadow of a doubt. But there is a bit of a problem with it. Let’s take a look at what that problem is.
i mentioned in that video – first that it’s upside down. i mean, we can’t have that. But look: that’s easily fixed.
THIS is the problem. Oh my God. Look at this awful, horrid horrid mess. i mentioned in the video that this game is no fun whatsoever to try to set up and tear down, because everything is in a bazillion different baggies. Bleh!
And somebody’s written on the score sheet… No – it doesn’t come like that. That was my… anyway,
this is terrible. You got to shuffle a few decks, and you got to kind of peel the cards out, and you have to make sure that when you put it away, you would split all the different cards that will go into individual players’ starting decks apart… it’s just, like, just a… baggie nightmare. And i hate it. i HATE it! i don’t like setting this game up, i don’t like tearing it down. It takes too long. Wouldn’t it be great if i could have an insert for Lost Ruins of Arnak? And of course, there are many aftermarket companies who will make inserts for you . Some are out of wood, some are out of foam core, and you can buy those and happily put them together in your box. However,
i own a 3d printer. If you watched the first two episodes of Bits, Please! you’ll know that i purchased a 3d resin printer, and i used it to print some cool walnut resource containers for Everdell.
Those walnuts came from a site called Thingiverse, which is a place where 3d designers can make stuff, and then put the files on Thingiverse for all to enjoy. And you know what? i’m going to correct a little error i made in the last video. i forgot to give credit to the file designer. That file designer was drimacus, who you can find on boardgamegeek. Thank you very muc, drimacus. i actually thanked drimacus on boardgamegeek for making those files. But of course, i should have done it in the video. And i’m doing now.
(Of course, i suppose it could be Doctor Imacus. Or… doctor, i’m a cooze…? i don’t even know.) Onward! So i went to Thingiverse and i looked for an insert for Lost Ruins of Arnak. It’s a fairly new game, so there’s not a whole lot out there for it. The first thing that caught my eye was this one. i clicked on it, and look: it looks very capable. That looks like a normal insert that you’d make for any board game. Little boxes… you put the things in the boxes… looks fine. And i downloaded those files, and i was about to go on my merry way and try to print that insert.
But here’s an important tip about Thingiverse: don’t judge a book by its cover. This is how I learned that lesson. You need to always click on every single thing and delve through the files and the photos, because you could be missing out on something really, really special. And that was the case here. Look at this one. It’s just a picture of the box cover. That can’t be too exciting, can it? Well, when i click this thing, check it out.
Oh my good golly gracious. What is THIS?
The designer, unserfamily, has obviously taken this Indiana Jones-inspired stuff to heart, and design the insert so that looks like a whole pile of crates, harkening back to – spoiler alert – the last shot in Raiders of the Lost Ark, where they take the Ark of the Covenant in a big crate, and they just put it in a warehouse packed with crates upon crates upon crates, and who knows what amazing artifacts are in those crates? Man, what a great idea for an insert, and it looks absolutely fantastic! i couldn’t believe it! And i was so excited to print this thing! But there was a problem. i own a 3d resin printer, and that works a little bit differently than a standard FDM printer that you might be more familiar with. Now between FDM and resin printers, they both have their advantages and disadvantages – pluses and minuses. – and this will be a great video for you to figure out, along with me, what those advantages and disadvantages are. So i set about trying to print one of the small boxes on my resin printer. And the way a 3d resin printer likes to operate is it doesn’t really enjoy things that are parallel to the build plate. And it doesn’t do very well with flat surfaces, which posed a problem, because this entire insert is just flat surfaces. So what do you kind of have to do is – like, if this was the build plate, you can’t just print it like this, because it might mess up, and it’s constantly moving up and down – i showed you in the last video – and sucking off layers of hardened resin from the bottom of the VAT, and the larger the surface that’s on the build plate, the more (sucking sound, akin to how badly Starling Games sucks) suckage there is, and that can bog the thing down. It can pull off the build plate and splash down into the resin VAT, or
it can tear a hole in your FEP your film, and then all that resin can leak inside your machine. It’s no good. So what you want to try to do to get more successful prints is print stuff at a weird angle, like up on a corner like this. But then the other problem is that when you are printing with a 3d resin printer, you have to put a lot of supports on it, because everything that you’re printing gets hung upside down like this in the printer, and it keeps dipping itself into the VAT up and down. So you need all these supports, because things just can’t pop into existence out of thin air. They’re just going to not attach, and they’re just going to peel away. So you can see – i’m going to put this on the close up cam – this was my first attempt. And it looks all… like, it looks cool, i guess. But it looks all scuffed and beat up, because those are all the places where I had to have a million different supports. And i had to cut them away, of course, you get like a kind of a rough finish. And you saw with the walnuts for Everdell, i was sending those down with those sanding sticks. (Pardon me, as i cut my finger cooking a couple of weeks ago.)
So it’s fine. But i made this little tiny box, and it was a pain and I thought of some of the bigger boxes, and i thought “Man, if i have to tilt those up at a wonky angle, that’s going to be a big build volume, and tons of supports, so i’m almost printing as much resin in supports as i am in the actual box!” And there are a lot of boxes in this insert. And i started to get a little bummed out thinking, like, it’s gonna be really, really expensive. High cost of resin in order to print this entire insert. i’m gonna be able to do it.
Goodnight, everybody!
No, of course not. i have a 3d printing buddy online that i chum around with a bit, and we message back and forth. His name is Braam, and Braam started whispering in my ear around this time. And he said, “You know, Anycubic, the people you bought your resin printer from, they have an FDM extrusion printer that’s sort of like an entry level, kind of like a… i’M buying one,” he said, “and it’s kind of like a budget… budget printer? And it will… you know, help you get your toe in those FDM printing waters…?” And i was like, “Get thee behind me, Satan!” i don’t need to hear this. But i was curious, so i checked it out, and i really wanted to print this insert, you understand. So i looked at the sell page for this printer, called the Mega Zero 2.0, and i just wondered… it’s gonna list all the different materials that it can print with. And i wanted to see how much a spool of material cost. So in the materials list, it listed a bunch of different plastics you could run through it. PLA is one of them, which is kind of, i think, a corn-based plastic, and pretty innocuous. ABS, which is kind of the same stuff as Lego, which is not innocuous and in fact, noxious, and you have to be able to vent the printer, because not safe to breathe that stuff in. And i saw this: it said “wood.”
i was like “How does THAT… work? Exactly? How do you…?
How do you print wood?” Like, i understand there are CNC machines, where you can put a big block of wood down, and it’s like a little knife that cuts patterns into the wood. i get that. i get that you can subtractively carve wood with a machine. But i didn’t understand how you could print wood with a machine. So i looked into that a little bit further, and apparently what they can do is they can… they can take PLA plastic, the corn-based stuff, and they can mix it with cork dust or sawdust, and make sort of like a wood plastic hybrid that purportedly gives a wood-like feature to the stuff that you print.
And that’s when it really started to gel in my mind. Oh my gosh: if i got one of these printers, i could not only print this insert for Lost Ruins fo Arnak, but i could print this insert – these boxes and crates – i could do them in WOOD!
And i thought, “i’m not gonna do it.” (Tense cello music)
Nah! Nah, girl. i’m not gonna do it.
(click) i did it. So now, being brand new to 3d printing and making my own stuff for my board games, i was now the proud owner of two – not one, but TWO – different 3d printers, in two different styles: resin, and FDM. And after printing out a couple of initial objects – a test owl and a stormtrooper that my daughter Isabel wanted me to print – i unpackaged the spool of wood PLA, fed it into the printer, and i was off to the races. And i was just cranking things out. It was like the fires of isengard. i had that printer running day and night making pieces for this insert. And it went pretty well, i’ll tell you, but it wasn’t without its problems. First, let me show you the finish that you get out of that wood PLA.
So here we go. i mean, to compare…
One of the things i don’t like about FDM printers is that you get this lineyness. And i think maybe if i put it on the close up cam, you’ll see a little bit better. See, you can see the gradation. You can see the layers that it printed in this thing, and i never really liked that. But you know what? Having something come off one of these printers in person is different than seeing the pictures of things online. Because online, you know, they’re right… close up… i don’t know they’re doing macro photography or something, but when you’re just handling the object and looking at it like a normal person, and with the dying light in aging eyes,
you notice it, but it’s not nearly as pronounced as i worried that it would be. So my fears about the resolution of FDM printers are a little bit unfounded, especially when you’re printing something like an insert for a board game. It’s… it’s really not a big deal. The finish… the “wood” finish… this, i mean… to me, this just looks like plastic. i didn’t really get any sense of wood from it. If you handed this to somebody, they wouldn’t look at it and go, “Ooh, it’s wood!” But one of the properties of wood PLA, apparently, is that you can stain it with wood stain. So I’m going to be doing that a little bit later, once i get this whole thing printed out. Now, home 3d printing has come a long way. You used to have to be a real tinkerer and assemble this whole printer. There WAS a little bit of assembly involved with the Mega Zero 2.0, but it wasn’t too bad at all. Even i was able to do it. But dumb little things can go wrong. And here’s one thing that went wrong. One of the earliest pieces i tried to print was this card holder. One of the decks of cards goes in here. But as you can see, it’s completely slanted one way, and i thought, “Oh, maybe that’s not a big deal? And then i made the lid for it, and the lid, you know, wouldn’t really slide onto it all that well. And i didn’t know what was happening because, you know, i’m brand new. i didn’t know what was doing that. So 3d printers, the FDM ones, have the three axis system, you know? It’s… it’s a 3d printer. So it goes… your motor goes along the x and the y and the zee. So, there… or “zed,” because i’m Canadian, and if i don’t say “zed”, the Prime Minister will come and get me. (psychotic violin stabs)
So it’s on little belts. And this kind of thing can happen if one of your belts is loose, or rubbing, or anything weird is happening. And i looked up on the internet, there’s apparently an issue with these ones, where the x belts can rub against a small part. So anyway, long story short, i threw a couple of washers in that part of the printer and it pushed the belt out far enough so that it wasn’t going to get obstructed or rub. And then i was able to print these parts out, no problem. Lickety split. And then just like with resin printing, you do actually need to print supports with certain types of prints that you do on an FDM printer. Supports a very much more of a thing with resin printing, because you’re suspending this thing, and it’s printing in liquid off the upside down build plate. You usually don’t have to do that. With something like this on an FDM printer, it just goes “zap, zap, zap,” and builds from the bottom up, and you’re okay. However, there were other pieces in this insert that required support. Let me show you one of them. So here’s one. And the reason why you need support is because the designer has put the Lost Ruins of Anak logo on the front of this – which, by the way, is why you shouldn’t sell this. If you go to Thingiverse, there will be a license – i mentioned this in the previous video – and it’ll usually say non commercial. So this is kind of how you get away with putting somebody else’s logo on something. Just as long as nobody’s selling it, it’s okay. i’m not selling these. If you see these for sale, and it’s not from CGE, you shouldn’t buy it.
But he’s got the logo on there. And so what you wouldn’t want to do to print this, is you wouldn’t want to print it face down, and have it – you know – run like that, because it would kind of, like… it might smear, or mess up the logo. It wouldn’t look too good. So you want the logo on top.
So because there… think about it: you know, it’s going to print around and around and around and around and around and around. But then when it gets up to this top part, and the stylus is going back and forth, you’re just gonna have these two sides, and it’s going to – you know – the plastic’s going to have nothing to cling to. It’s just going to bow in the middle, and you’re going to have this big, droopy face as the top of your box. And that’s why you have it print the supports. This is just a setting that you enable, and it goes “Oh, okay – you need you need struts, or structures, in there, so that when we get to this point, there’s a – like, a bed for me to lay the plastic down on top and print the top of your box.” Talking about the printer like it’s a person. It’s not really. It doesn’t really talk to you. They’re not THAT advanced quite yet. But these are what the supports look like. And i kept these ones in there so that icould show you on camera that they come apart really nicely, and it’s kind of satisfying to just go “Blurt! Do de DOOT doo.” Look at that. They pop off. And it’s like a zig-zaggy, backy-forthy kind of thing.
i’m gonna… i’m botching
this a little bit. i would do this a little more carefully without camera eyeballs watching me. But yeah, so there it is, it’s it’s free of the supports. So pretty trivial. You CAN get FDM printers that have two or more inlets for spools of material. And so you can buy a completely separate spool of water-dissolvable stuff, so that you tell it “Okay, the supports, i want you to print in water soluble stuff. And then the, the actual stuff i want to keep is going to be in PLA” or whatever material, and then you take it when it’s done, and you dunk it in water and it dissolves all the supports. Uh, cool. i don’t know entirely necessary, because this thing came out pretty easily as you see it. It’s this neat, accordion… accordion-folded thing that unfortunately will end up in the landfill. i don’t know what to do with that, but… that’s how the supports work. Another issue… and this piece is exactly the one that i want to show… this is the lid for the fear cards. And i don’t know if you can see that, but you can g… yeah, there you go. Look, you can see my… see my fingers through there. That’s really, really… dangerously thin. You know, i’ll put that on close up. Look: look at that. You can see right through there. And none of the other boxes with the logo printed like that. And i wondered why. So i took it into a 3d program called Blender to investigate, and i figured out why. What the designer had done for this box, is he needed it to be a little bit thinner. So what the designer did was took another one of the boxes and thought, “Oh, i just need it skinnier,” and then just scaled it down. But the effect that that had was it made the the front of the box thinner, and all the other boxes printed fine. But this one printed so thin that you can see right through the logo. But then i wondered “Is that, like, a feature, not a bug? Like, was the idea that you take the fear cards… let me get the fear cards…
But the fear cards have these scary eyes on them. So was the idea that you take the fear cards, and you put them in the box, and you can see the eyes shining through…? And like, no, not really. Doesn’t really work like that. So i thought, “Okay, i think that i have enough skill with Blender to be able to just take a few of these vertices and move them down, just to thicken up the front of the box like that.” So that’s… that’s what i did.
But then i pushed my luck a little, because another thing you’ll notice about the design here
is that these eyes are kind of friendly looking. They look a little bit like cat’s eyes. But
the eyes on the fear card are a lot more menacing, you know? The… this goes… angles down a lot more. They look a lot angrier and scarier than these eyes do. And these eyes, the pupils look a bit round, whereas they are reptilian slits in the game’s fear card. And when i’m making these components for my games, i want them to match the artwork and the design of the game as closely as possible. So i thought i could make this a little bit better.
Here’s what i came up with. Here’s the lid that i redesigned.
See that? i was able to sort of, like, tweak the eyes. i made the pupils a little bit more slitty, and i angled the eyes down so they match the card a whole lot better. And i think they’re just a little bit more menacing looking than those more catlike, doe-eyed things going on in the designer’s original box. And, i mean, that’s fine. Nobody’s… nobody’s selling this. This is all just you know, for my personal use. So i think it was fine to do that. And Thingiverse actually encourages people to download and remix other people’s files. So that’s what i did. Another modification i made was to the lid of the gem box. Now the designer had this sort of standard diamond pattern on the lid. i love that all of the component boxes have the symbol of what you’re supposed to put in them on the lid of the box. That’s great. But the designer used sort of this generic looking diamond shape to represent the box that takes the gems in the game. One of the things that i love about Lost Ruins of Arnak is how unique and cool these gems look. Check these out. Look at that. They sort of look almost like turtles, or… i can’t even tell what, but they’re, like, super cool, and such a unique shape. i think that was really cool for them to use those instead of just going for the… the standard gems that you’ll find in in other games, like the the coal in Caverna, or the gems in Trickerion.
Really thought that was awesome. So i thought it’d be really nice to have the box lid reflect the actual shape of that gem. Now, what you may not know about me is that i approach this 3d software stuff with a little less fear than most people would, because i actually went to school for this stuff. i got a diploma in 3d art and animation, way back 20 something years ago. But it was really nice to see that, in those ensuing 20 years, not a whole lot has changed in 3d art and animation. So i was… remembered all the terms and I was able to s… Google Search the things that i needed to know. And i drew a shape that i thought looked cool that faithfully represented that gem in Adobe Animate, and i saved that out as an SVG file, and i brought it in as a path in blender, turned it into a mesh, extruded it, and then use that to cut the shape that i needed into the modified lid. And my the very first attempt was a failure. You see there, i messed up some of the vertices, and this area here didn’t print properly. i don’t have the planks there. So that was no good. But no problem. i went back into Blender, i made a change, i fixed it, and check it out. Beautiful. Look at that. Oh, wow, love it.
So
now i have a gem box that fits the look of the gems in the game.
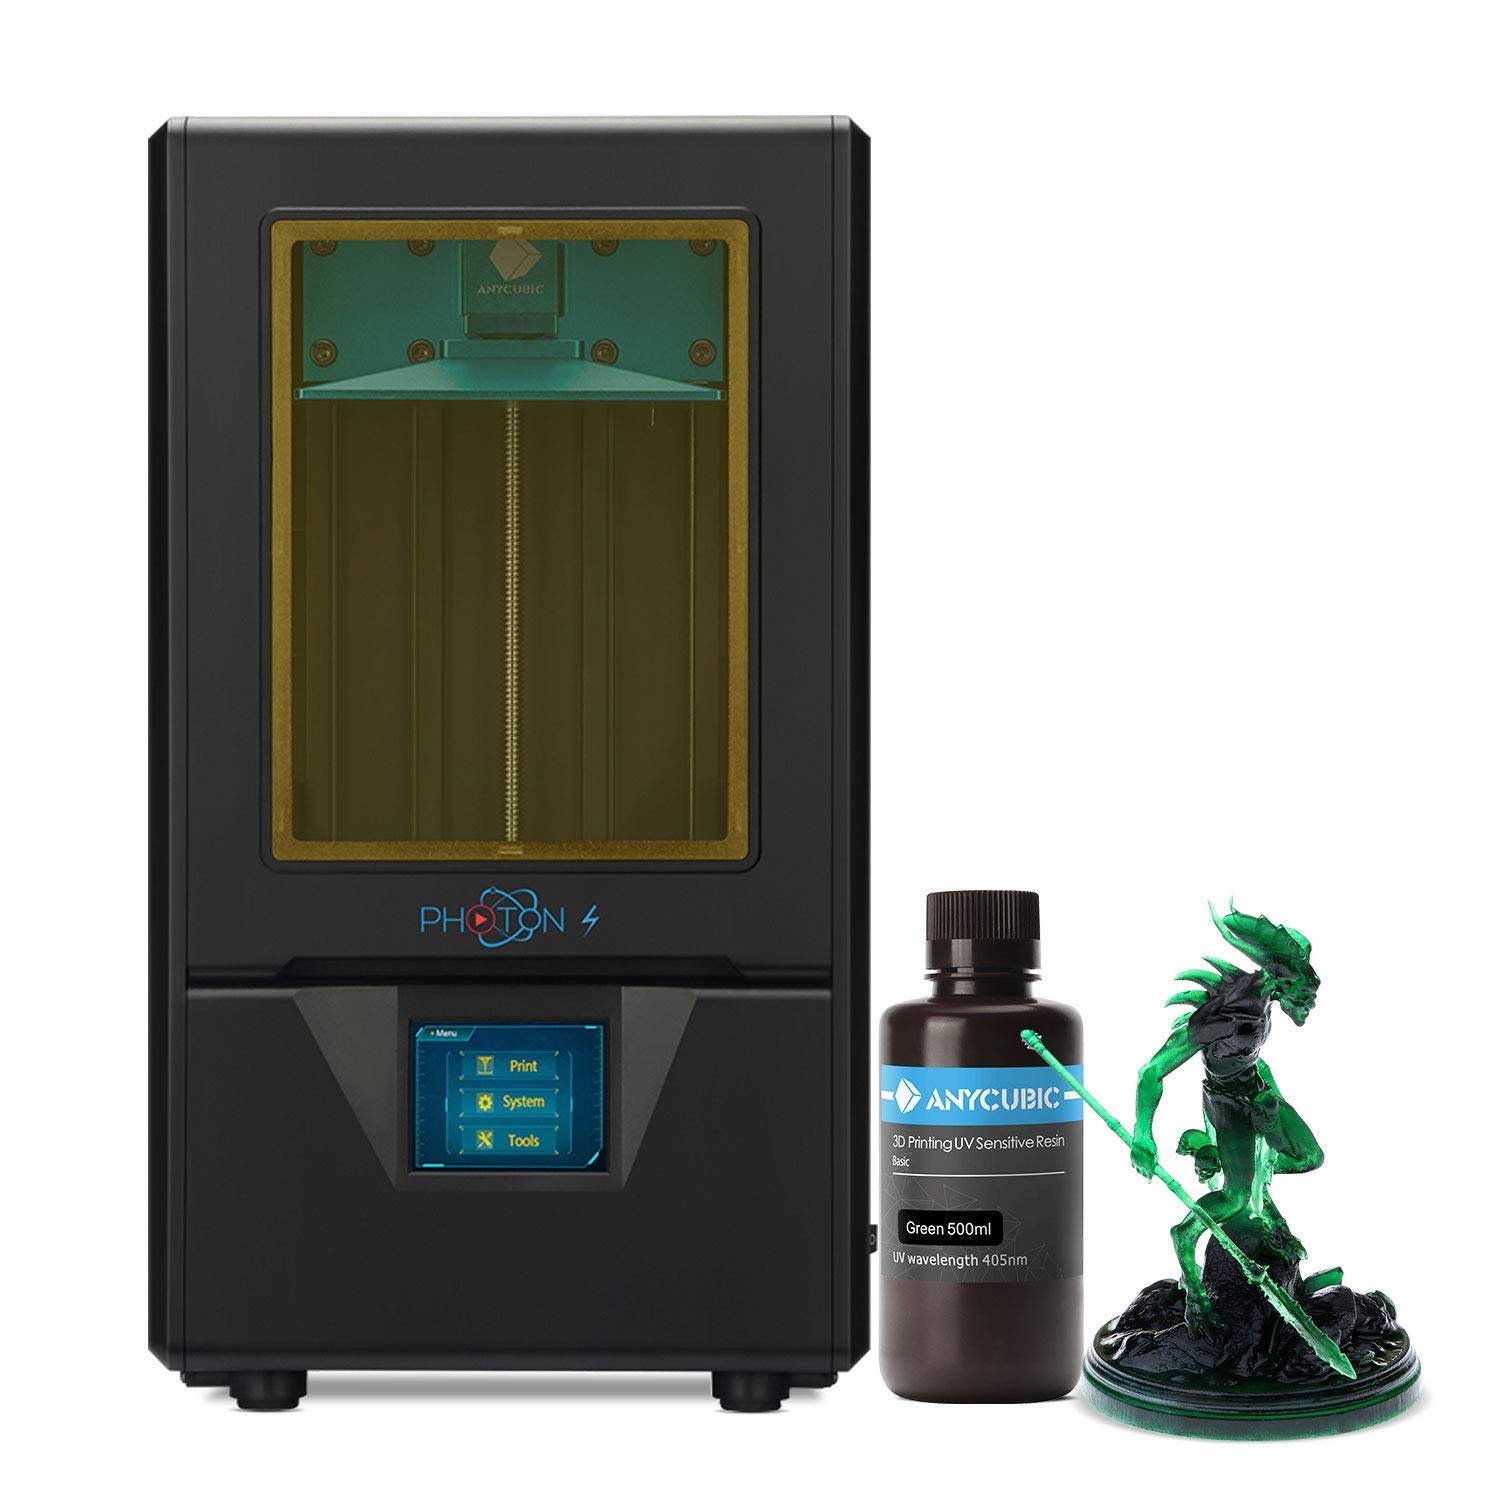
The designer decided to get fancy with a couple of the components in the game. This little alarm clock here is the first player marker and this staff sort of moves across the board, and special cards pile up on the left side as the game progresses through its different stages. And so he actually came up with these cool-looking voluminous models to represent both of these sort of flat cardboard pieces. Now, i could have done these on the FDM printer, but this is a really good illustration of when you would use a 3d resin printer versus when you would use an FDM printer. These detailed models are a job for resin printer. So i set about printing this one, the staff. There’s kind of a bird theme going on in Lost Ruins of Arnak. The fictional civilization that you’re exploring had sort of bird-themed temples and gods. So you can see that on the scepter, on the staff. There’s sort of a birdy-looking motif going on there. What the designer of this insert decided to do was to make it look a bit more explicitly owl-like on the staff. You can see the eyes and the beak there. So i really wanted those details to show up. And nothing shows up fine details like a resin print. But the very first attempt
didn’t come out super well. i couldn’t see the detail that i wanted to see in that owl head. There’s, like, a shape carved into its forehead that you can kind of see here, but it doesn’t read as well as i wanted it to. So this is the thing with 3d printing: it’s all about tweaking numbers up and down a little bit, doing test prints – you know, doing exploratory prints with certain models that tell you about different exposure rates. It’s very experimental. So i experimented. This was my second attempt.
A little warmer, a little closer. The camera probably won’t pick up the details that i was seeing, or not seeing, with my naked eyes. The difference between this first staff and this second staff is that i had anti-aliasing turned on on this, which is a way to sort of smooth out the gradation in the in the layers. But
taking it off, i didn’t see such a massive difference between number one and number two. So i went out, and i tried printing a third prototype. Here’s what that looked like. So now we’re really getting down to it. Look at the detail. You can really clearly see that symbol carved out in the bird’s head much more clearly than in the first two. The difference between these two and this one is that i decreased the exposure time on this one. So it wasn’t shining the UV light at the resin nearly as long with this one as it was with these two. These ones were 18 seconds, and this one was half of that at 9 seconds. So you’re getting much crisper detail. Now another thing that you can do to increase the fidelity with 3d resin printing, is you can decrease the thickness of the layers that it builds. So that’s what i did with my fourth and final print. This one right here… i went from a 50 down to a 25 mu. What’s that short for? Microns? So these layers are half as thick as the layers in this one. You know what? i didn’t notice such a massive difference between those two. i think both of these look really good. i would be happy to use either of these in my game, so i sort of reached the end of the road with how good i thought that i could make this staff look. i think this is it. So this is the keeper, and this is the one that i’m going to paint. As for the first player marker, this little clock,
here is my first attempt at it.
The exposure settings, i think were way too high, so… it’s hard to tell here. It looks pretty good under this camera, but the details just didn’t come out as crisp as i would like to. Some weird gumminess on the edge. i don’t know about that. Here’s what i came up with the settings tweaked. Just look a little bit… look at how much better this one looks than this one. This one looks gummy and blobby. And this one, to my eye, looks absolutely fantastic! So two stages of post processing on this thing. Because i printed this with wood PLA, I’m excited to use woodstain on all of these boxes so that i can make it look a little bit more like the pictures that unserfamily put up on Thingiverse. Get the stain soaked into those grooves, and give the… all these crates sort of like an aged, grotty look to them, which i think looks really, really cool. And then i’m going to take a more traditional approach with the two resin pieces, and i’ll show you what that looks like in a sec. But before i do that, let’s talk about cost. There was one other problem that i ran into while i was printing this. As i mentioned, i was running this printer day and night, and it was just churning, churning, churning, and cranking out all these boxes. Each box would take a certain number of hours for the printer to complete. And I got maybe 70-80% through the project before finally my one kilogram spool of wood based PLA ran out. And when the printer stopped, i was so used to just working in hearing it in the next room whirring away, that in the excruciating 24 hours where it stopped and i had my next rule of would PLA on 1-day Amazon delivery, i got weirdly depressed! It was the strangest thing. But the second spool arrived, i fed into the printer, and i kept cranking out, and i made the rest of the boxes. So i want to show you what i printed on the first kilogram spool of PLA, and what i made with the second. Okay! It’s hard to fit it all in one shot. But all of this stuff – let me move it around for you here – all of this stuff, all of these boxes… there’s, you know, lids for them and bottoms for them…
… there we go…
For every single one of these, this… this whole lot here, plus this stuff, which are kind of like my off cuts, my supports, and my mistakes… all of this stuff was on one spool of one kilogram of PLA wood. Meanwhile, this stuff was the stuff that i didn’t have enough plastic to print. So this little bit. So what is the cost of that? People are kind of fond of saying – and somebody just said it to me in a recent video – like, “Oh – why would you ever buy an aftermarket insert, because you just go buy a 3d printer for a few hundred bucks, and this crank out all your own inserts.” And yeah, you can. But that doesn’t mean they’re free, right? A spool of one kilogram of PLA, the wood stuff, cost me 40 bucks. And i didn’t get it all done in one spool. So it cost me another 40 bucks to buy the second spool. Mind you, i didn’t use that whole spool. i can use that on other stuff. But it was over 40 bucks to print this insert, which is less expensive, i think, than being able to get all of this stuff from an aftermarket place. And nobody, by the way, is making an insert this cool. You can’t GET this kind of thing in the aftermarket. And you definitely wouldn’t be able to… if, you know, you didn’t like the symbol on a box, you definitely wouldn’t be as equipped to modify it like i did with this process. So there are definite advantages there. But it’s not free. It’s f…it’s far from free. It’s kind of like when people say “Oh, you should write that off. Just write it off! Write it off.” Writing things off gives you a tax reduction. It doesn’t make the thing that you’re writing off free.
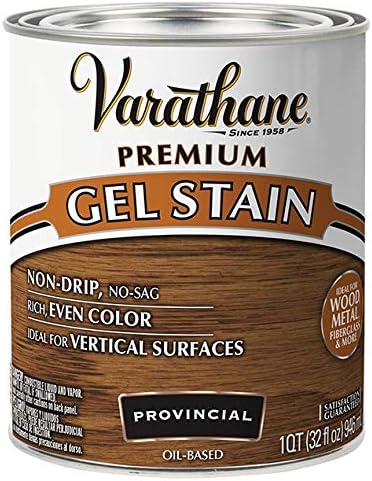
Anyway, let’s get staining. But just before we do, i wanted to put a little color on the lids of the player boxes so that you wouldn’t have to open each one to find the player pieces in the color you’re looking for. i used my Reaper Bones Learn to Paint Kit, which has all of the primary colors, except red, weirdly. All the paints in this kit are by a company called Vallejo. i just bought a pot of Vallejo carmine red for about four Canuck bucks and a local hobby store. That’s where i also got this model painting brush too. Here’s the stain i decided to use: Verathane brand gel stain, and the colour is “provincial.” i just used a couple of old socks that didn’t fit my kids any more to rub this stuff on. i laid it on a little thick for the first few pieces, but this whole process took hours and I got better deciding how much excess to wipe off so it wasn’t too dark or gloppy. i eventually moved into the garage because it was too cold in Canadaland to work outdoors. Here are all the pieces i finished staining. The whole process took three and a half hours. i queued up a couple of movies on Netflix and made an afternoon of it. Surprisingly, it used a very small amount of stain. The can was still over 90% full by the time i was finished. i’ve also seen that some people are staining their tablet components from the game to make them look cooler.
This made me way nervous. If i screwed up a box, i could always reprint one, but i really liked these little tablets, and i didn’t want to mess them up. So i tried it out by staining just one of them. And you know what? i thought it looked pretty good! So here are the rest of the tablets, stained. Even if you don’t go full bore and print this whole insert like i did, this is a really simple improvement you can easily make to your own copy of the game. As for the two resin pieces, i used my special detail sanding sticks to smooth down the nubs left by removing the supports on the clock. Each coloured stick is a different grade, and by the time i’d moved through all five of the sticks, the bottom of the piece felt really nice and smooth. A few of you gave me some good tips on the last video, which i decided to apply this timeout in particular YouTube viewer Shelley Danielle had some really great tips, one of which was giving the pieces a little scrubby-dub in soapy water to take off any sanding dust or residue, to help paint adhere to them. i mixed my rattle can for a good solid two minutes. i read that swirling was a better motion than shaking, because it helps to avoid air bubbles in the paint. This is a can of Citadel Chaos Black primer, which is really expensive stuff at about 18 Canuck bucks a can. i didn’t pay that, though. i found this can, and a can of white stuff, at 401 Games in Vaughan for 9 bucks each in a ding and dent sale, because the caps are cracked. Sweet deal! This is the second time in my life i think I’ve used can of spray paint. Going on your helpful advice – especially Shelley’s tips, and the helpful videos she told me to watch – i affixed the models to a piece of wood with some sticky tack, and sprayed them in a box tipped horizontally. i tried to go really easy on the spray and keep it at a decent distance, but i found the can had two settings: if i pressed too gently, i’d get all aerosol and no paint. And if i pressed a little harder, i’d get a complete firehose effect. But i think i did a passable job. i’m not sure why i was wearing the single glove, though. i only got paint on the finger that was pressing down on the nozzle.
Sigh. That cut’s gonna get infected for sure. i did another coat of black primer. i forgot that the designer made the clock in two pieces, maybe so you can print the base in a different colour if you’re not planning to paint? But i AM planning to paint, so it was a bit of an extra hassle.
Next, i used the can of white to zap a layer directly at the tops of the pieces. This is called “zenithal priming,” because you’re mimicking the highlights the sun would create if it was directly overhead at its zenith… or “zednith,” as Trudeau would have it. If you apply thin, watery paints to zenithally-primed models, the highlights and dark parts will show through and save you shading and highlighting time, and theoretically look really cool. Well, there’s theory and there’s practice. When i went to actually paint the models, i found that i hadn’t been aggressive enough with the white. My models are more black than white, and really i needed them more white than black, i think, because thinned out water remodel paints just don’t show up over pure black.
i tried to pick some thinner, like the guy in the video recommended, but the hobby store didn’t have any. Instead, they sold me this glaze stuff…? Thinner is supposed to stretch your paints further without watering the colors down. But this stuff… i painted for a while and futility, and the paint just wouldn’t stick to the primer. Eventually i realized the glaze was messing up the paint and making it too slippery, so i ditched it. i also bought a pot of Vallejo old gold metallic paint. It was on a different shelf from the other paints, and they were out of the regular gold acrylic paint. This stuff was really weird to work with. There were lumps of stuff in it, and it evaporated really quickly. It didn’t blend with any of my acrylic paint, so i couldn’t get an orange gold like the bird on the cardboard staff.
And like the bottle said, the only way i could thin it or cleaning out of my brush was to use rubbing alcohol. It does look pretty badass on the model, though.
i’m not a very good painter. At all. In fact, my inability to understand or use paint was one of the main reasons i dropped out of art school. So this is what i came up with, after a few hours of trying. It looks okay, i guess? The saving grace is that the insert comes with a couple of tailored spots for the staff and the clock, so you don’t even have to print these pieces. You can just use the cardboard stuff if you want to. And again, if i was really unhappy with my paint job, i could just dissolve the paint, or print out another one and try again. i gave the insert pieces all the drying time the can recommended, but because this is plastic with a bit of wood dust in it, and not actual wood, the stain isn’t going to absorb into the material like it would with… with wood. So i had two options: icould use paper towels and rags to rub the excess stain out of every surface, nook, and cranny – which didn’t sound like a good time (and i didn’t trust myself to be thorough enough anyway) – or i could act on
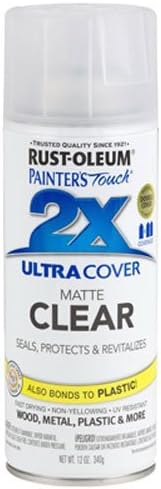
a tip from you viewers in the last video, who suggested i spray my painted pieces with clear coat, the theory being that the clear coat will lock in the stain and prevent it from leaching out into my pieces or my box. i used this matte automotive clear coat from Rust-oleum. A quick initial zap, and then you have to get it with a second coat within the hour. It’s important to be really gentle, and just mist the piece from a distance, because if you go too heavy with this stuff, i’ve heard you can get, like, a white film on your thing. i did an initial test with this complex piece to see if it would lock in all the delicious flavours.
And yeah, after waiting 20 minutes for the first coat and then an hour for the second coat to dry, everything looked okay, so i went ahead and I did all the rest of the pieces. And just for the sake of continuity, i put clear coat on the shells from the last episode.
And there it is! We’re done! i hope…? i’ve got all my pieces, i’ve got my game, and it’s time to rebox it. Pieces smell really bad. i haven’t fully let them cure yet. They really should be in the garage another 24 hours. They stink a little bit. i’m not gonna lie. It’s kind of… burning my nostril hairs. But i’m a teensy-touch concerned that there’s going to be some transfer of schmutz onto my cards. And this is a game where you don’t want your cards to get marred or nicked or ruined in any kind of way, because you can really tell. It’s a deck builder game, so if there’s a slight defect in a card, it could throw the game because somebody is going to know what’s coming up. That’s not good. So i have these card sleeves. i don’t usually sleeve my games, but this kind of game, i would sleeve. Unfortunately, these are the pro… Ultra Pro fit sleeves. And the measurements that are done on the sleeves are done on the outside of the sleeves, not the inside of the sleeves, so when you stick your cards in these things, they bow a little tiny bit because the sleeves just aren’t wide enough. It’s a weird card size that’s like a millimeter, or half a millimeter, out. It’s too thick. So don’t get these for this game. i’m gonna have to come up with other sleeves, and just hope and pray in this reboxing that there’s no transfer of gunk to my pieces. Here we go. (Intriguing jungly music)
Oh ho ho LOOKIT! There it all is. And when you open it up, whoa! It’s time for adventure. Lookit! So much adventure! Pull these things off…
Oh, look at them all! Ah… gorgeous!
Oh! So gorgeous! But of course, this is not merely an insert. This is a DELUXE insert, and unserfamily, the designer, has designed everything so that it’s meant to come out of these boxes and look fantastic on the table while you’re playing the game, to hold all your resources and things. So let’s take a look at what it looks like on the board.
(Indianapolis Janes Music) Oh my God, Becky, look at her game. Absolutely incredible. It’s incredible! There’s no other word to describe it. It’s amazing. It’s going to be an absolute joy, now, to set up and tear down this game, not to mention to play it! A game that i already thought was a pleasure to play. Just a little bit more praise for the designer, unserfamily. i wanted to show you that these component boxes are scooped, so they have a rounded edge, which is one of the advantages that plastic containers have over inserts that are made out of foam core or wood. And if you get a plastic insert that doesn’t have little finger holes – look, there’s finger holes down here cut out of here in order to pry things up more easil – if you don’t have those in a plastic insert, then the designer was asleep, because those, i believe, are must. That’s one of the huge advantages that you have. Gah! This worked out so well.
(Inhales) And i can’t wait til it finished off-gassing. Honestly, thanks again to underfamily… or could be “un surf, am i lie?” i don’t know. If you would like to tackle this project…
believe me, if i did it, you can do it. i believe in you! i put together a full materials list that you can check out on the nightsaroundatable.com website. Now all of those are Amazon affiliate links. So if you click them, and you buy stuff from Amazon, your price is going to stay the same, but it’s going to give me a little bit of a kickback – a tiny little … you know… and that’s one way that you can help out the channel. Another way you can help out the channel is to click these three very important buttons. One looks like a thumb, one says Subscribe, and one looks like a little bell. By clicking those three buttons, you can help me get the attention of publishers like CGE, who so graciously sent me a review copy of this game to do with as i please… and this is what i please! If you
super enjoyed this video, and you watched all the way to the end… you thought this was the bee’s knees, like i did… then consider checking out my Patreon page. i got a list of rewards there for you. You can join my crew and jump onto the Discord channel with us. We’re playing board games and talking board games all the time. Great group of folks there. Now there are going to be more episodes of Bits, Please! in the future. i don’t know how I’m going to top this one, but i’m working on it. So see you in the next episode of Bits, Please! Did you just watch that whole thing? Oh – hey! To 100% this video, click the badge to subscribe, then click the bell to get notifications when i’ve got new stuff! [Music – Board Game Boogie by Ryan Henson Creighton]
Materials List
Here is a list of the materials and equipment i used to print and paint this amazing Lost Ruins of Arnak insert, fantastically designed by unserfamily and available on Thingiverse (along with my modest tweaks). If you buy anything from the list below, your price will remain the same, but i’ll receive a small commission. Thanks so much for helping out the channel like this!
First, if you don’t yet own a copy of Lost Ruins of Arnak, you can check Amazon’s price here:

i printed all of the crates and lids with the Anycubic Mega Zero 2.0:

The crates are made from Tianse Wood PLA, though it’s the only one i’ve tried, and i suspect there may be better options out there that give you a more convincing illusion of a wood finish: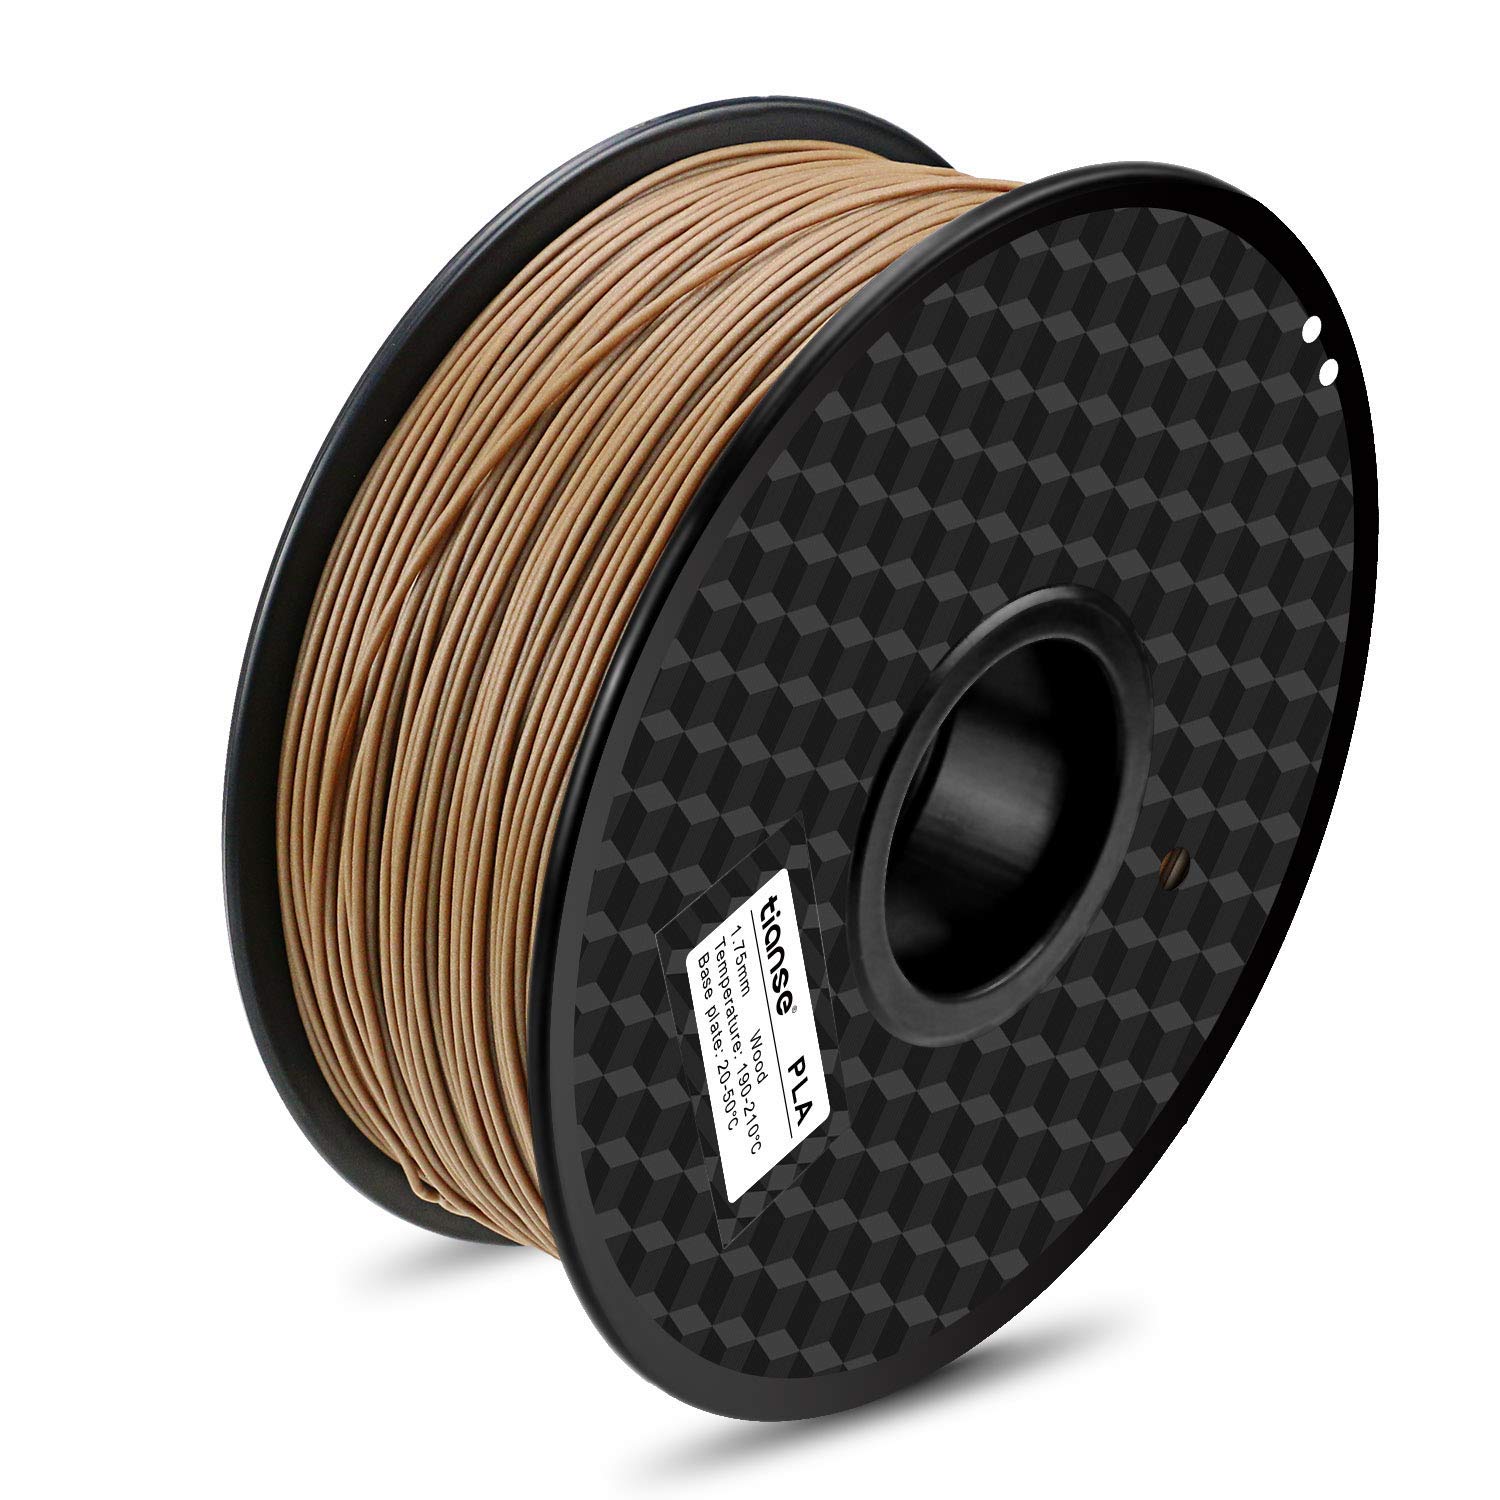
All of the pieces (and the tablet components) were stained with Varathan Gel Stain in the “provincial” hue:
i used this Rust-Oleum Clear Coat Matte spray to keep the stain on the pieces. You can also get it in Gloss depending on how much shine you want:
Moon Staff and First Player Marker
i printed the moon staff and the first player clock token on my Anycubic Photon S resin printer:
You can also buy this combined wash and cure machine that helps you wash off the slimy resin with isoprpyl alcohol, and then finish curing your models with UV light in one fell swoop. i like it!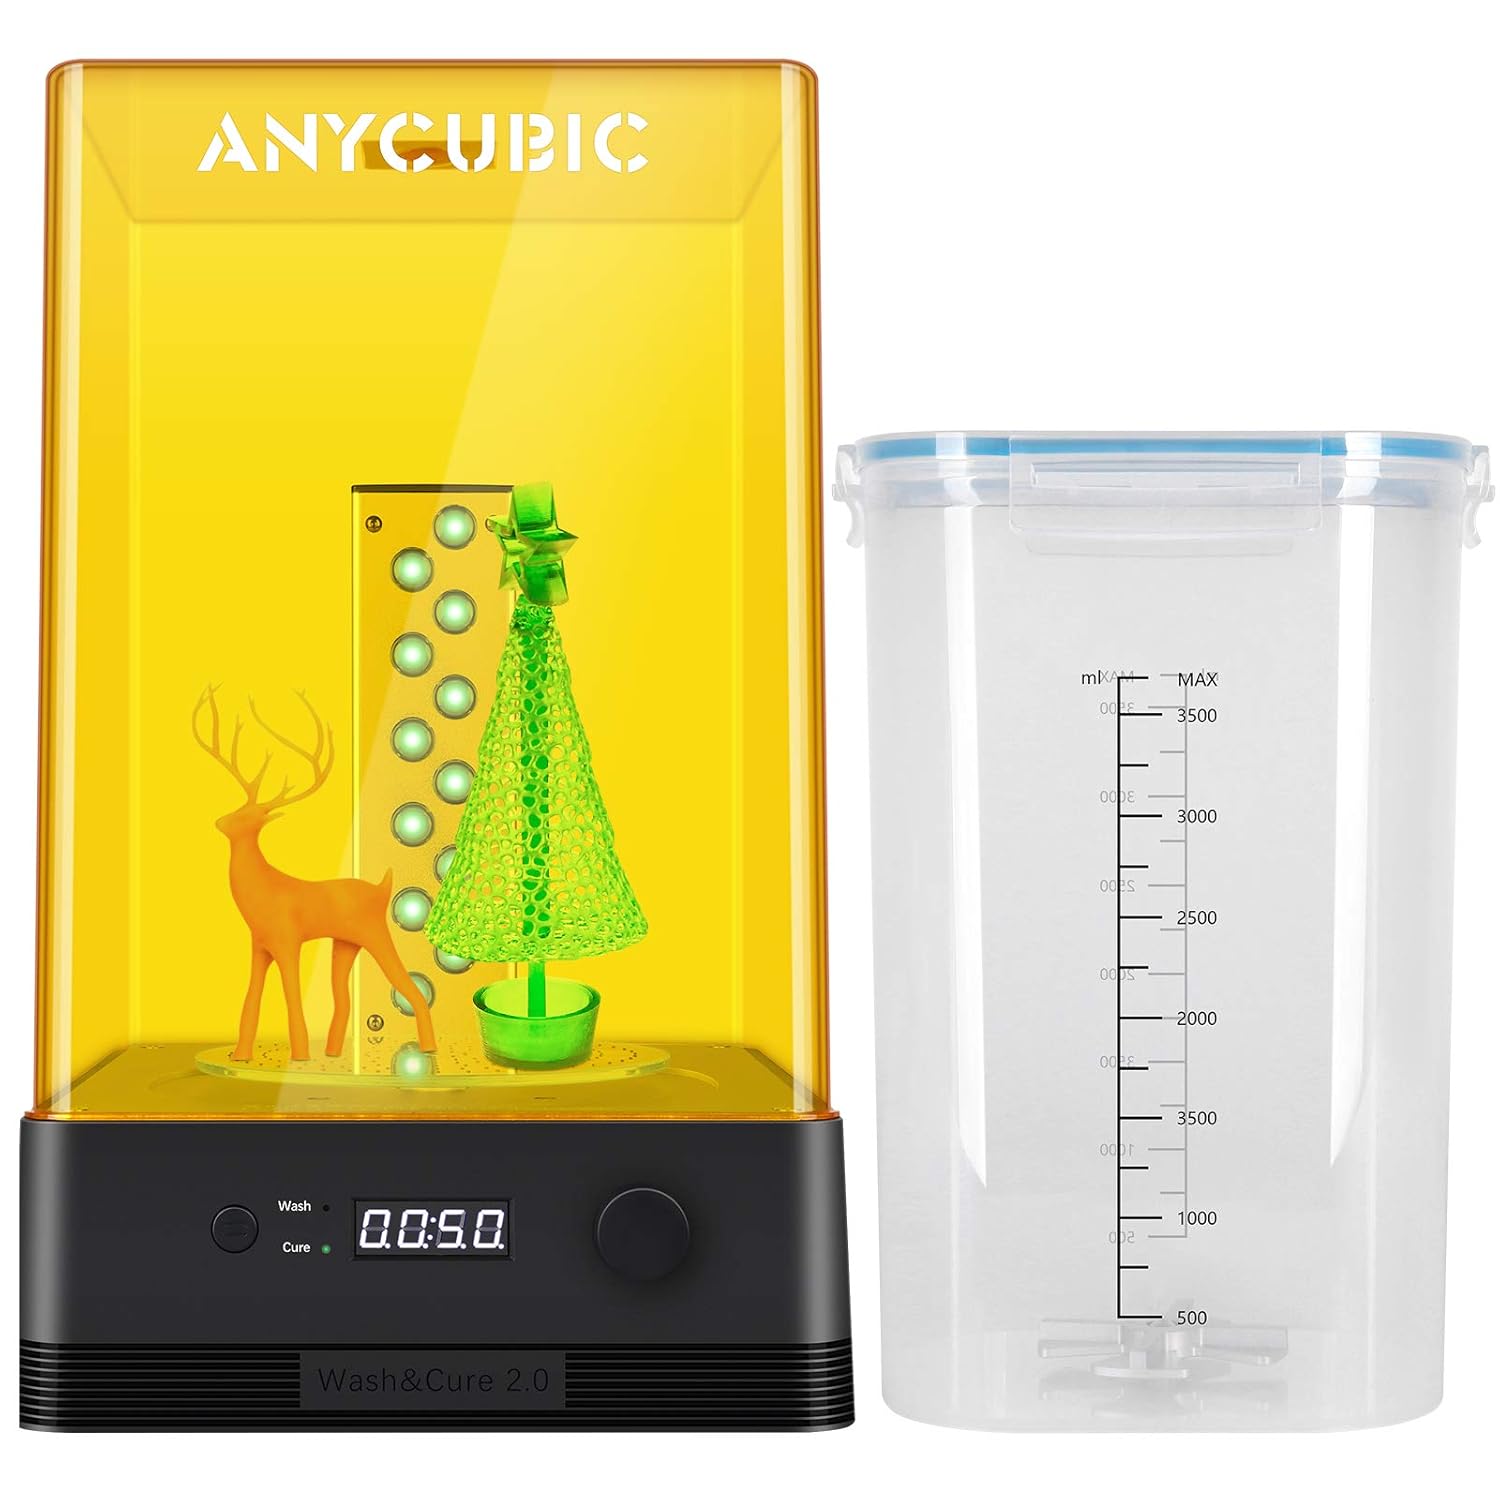
These sanding sticks helped me smooth out some of the nubs on the resin pieces: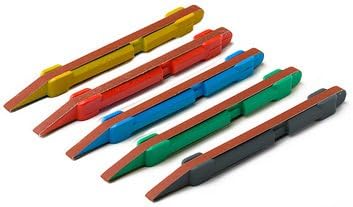
i used the zenithal priming technique (from Sorastro’s JIME figure painting tutorial that viewer Shelley Danielle recommended) to prime each piece with Citadel Chaos Black and Corax White, which you can pick up in a 2-pack (Shakur):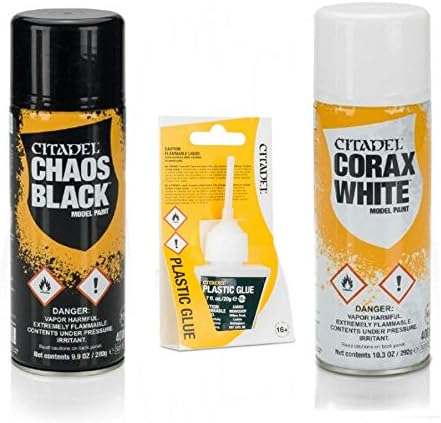
And both pieces got sealed with the same clear coat i used on the rest of the insert (see above).
i painted them with Vallejo paints from this Reaper Bones Learn to Paint kit: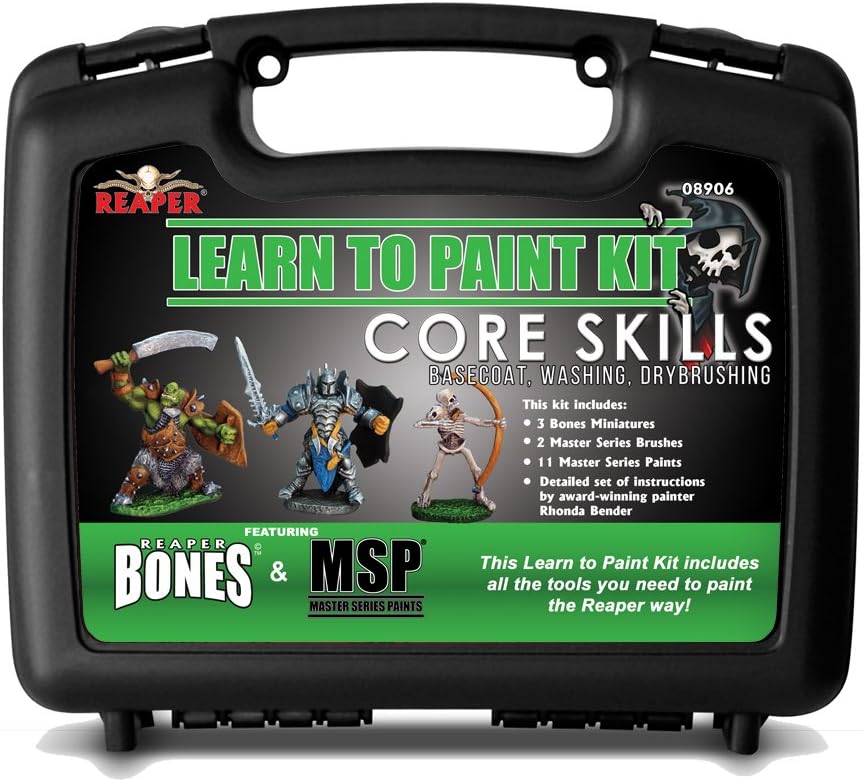
But be warned: the kit doesn’t come with red (or purple) paint! i bought this Vallejo red pot separately:
Here’s the weird metallic gold i used:
And finally, i can recommend wearing gloves and a vapour mask, which i don’t own but wish i did, because the clear coat fumes are bonkers. Here are some gloves, anyway. Size large for fat hands.


Trackbacks/Pingbacks